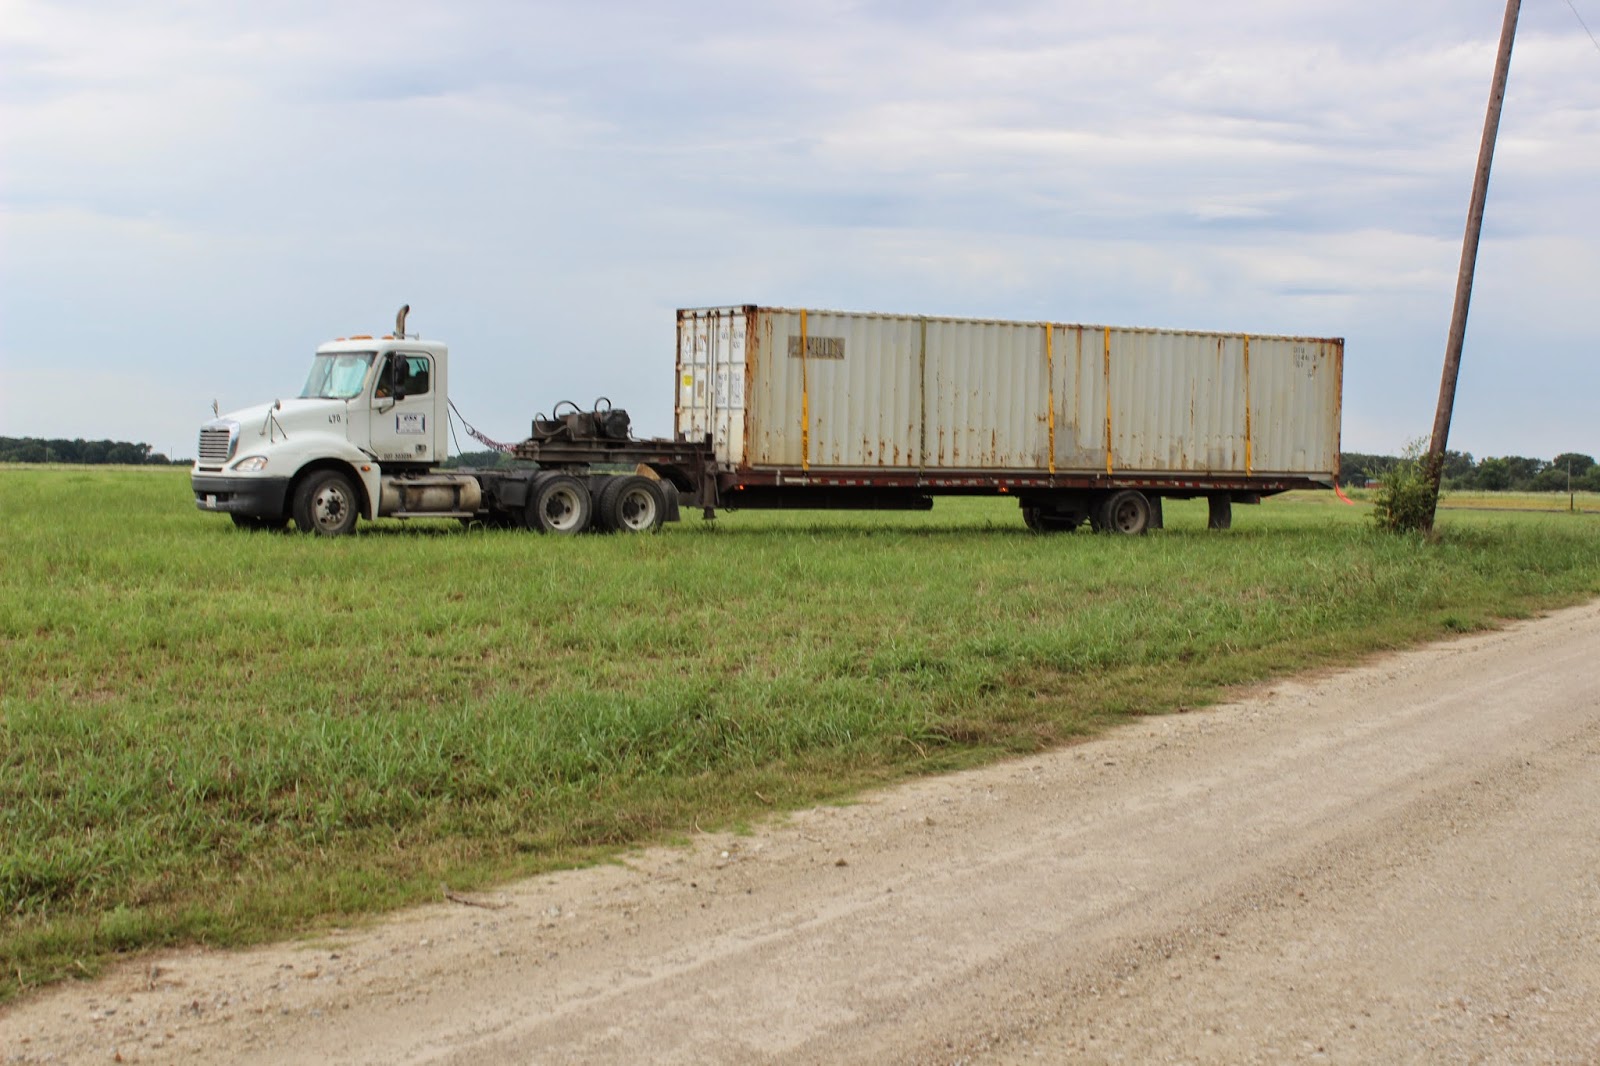
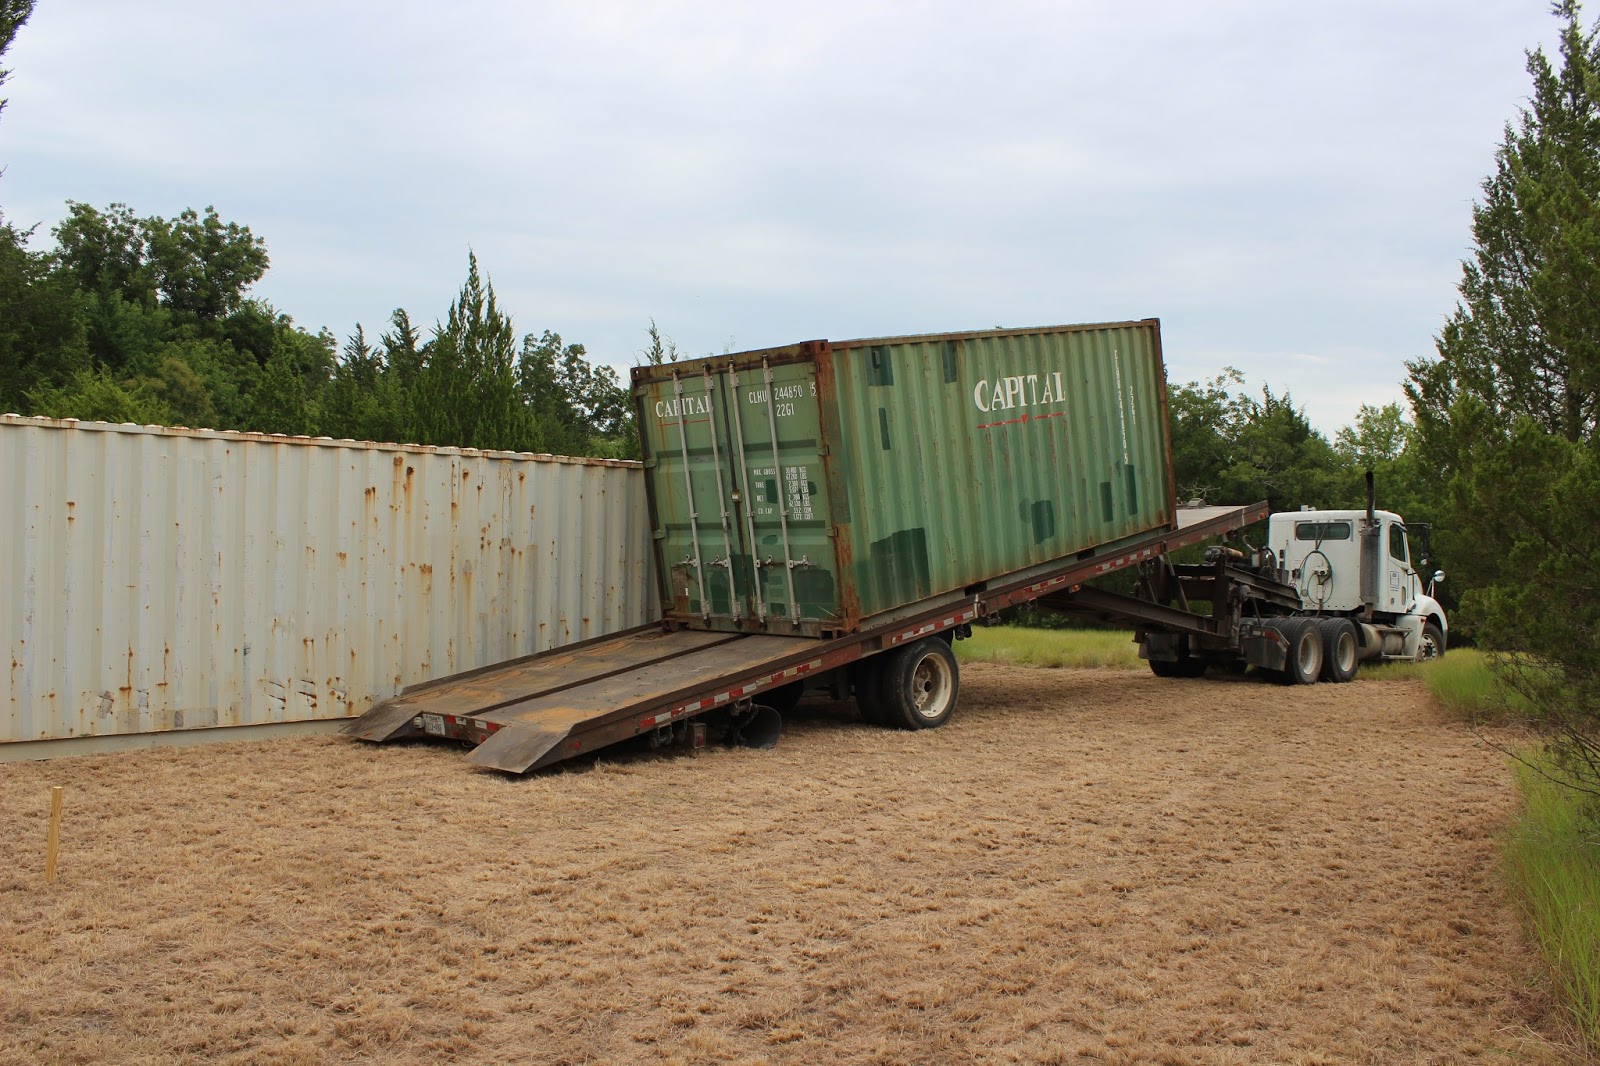
 Now that the access road is complete, I can start construction of the shipping container cabin. The first thing to be done is to have the shipping containers delivered to my site. The access road was specifically made wide enough for the 40 foot and 20 foot containers to be able to be driven through to the open field and placed in the appropriate location.
First the 40 foot container was delivered. The driver did an
 excellent job in placing it exactly
 where I wanted it.


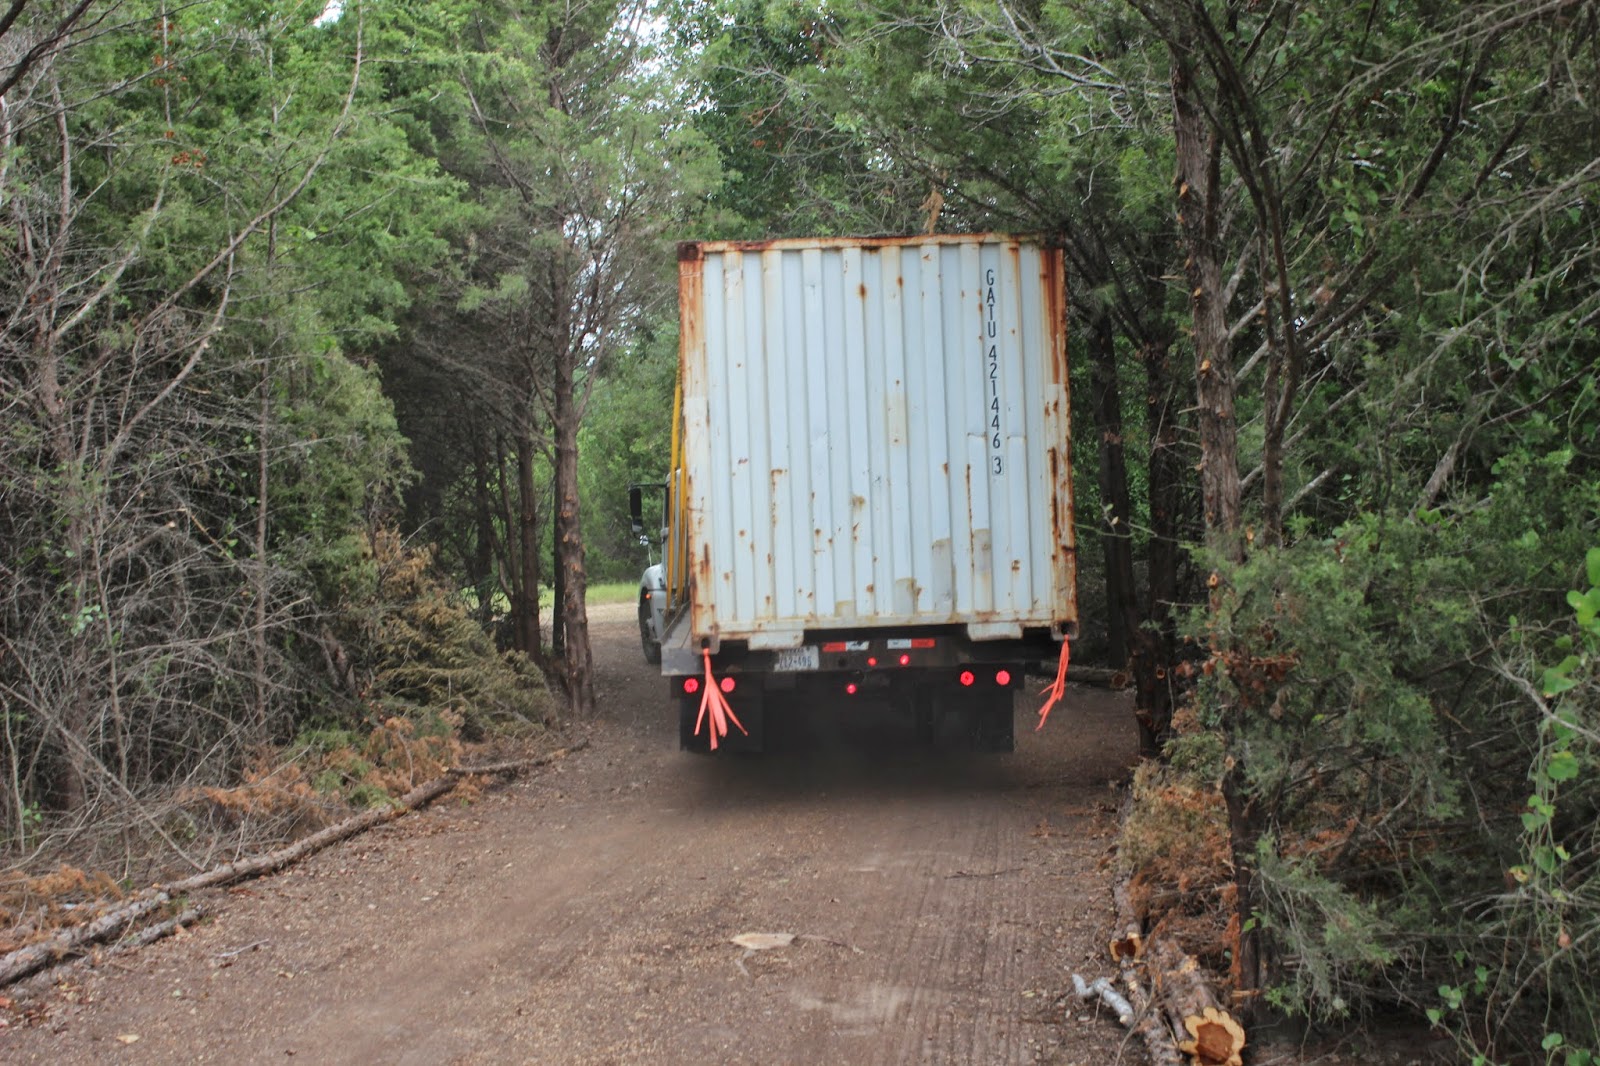
 After the driver dropped off the
first container, he left to go
get the next container. 
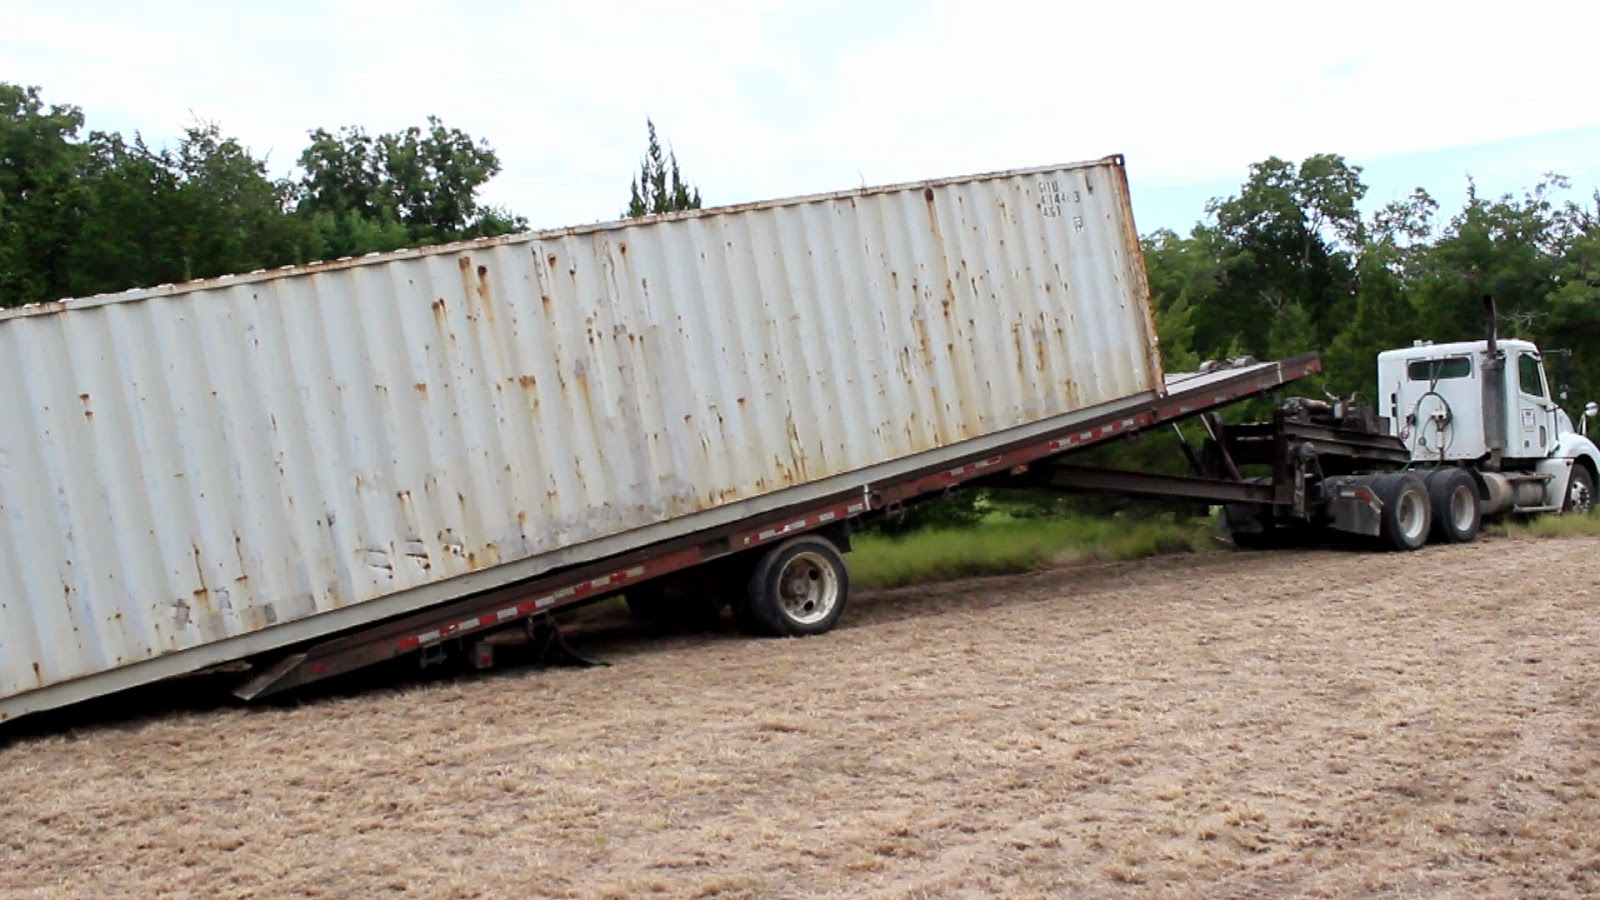
Took about 90 minutes for him to return with the 20 ft container
-------------------------------------------------------
Now the 20 ft container is dropped next to th 40 ft box.
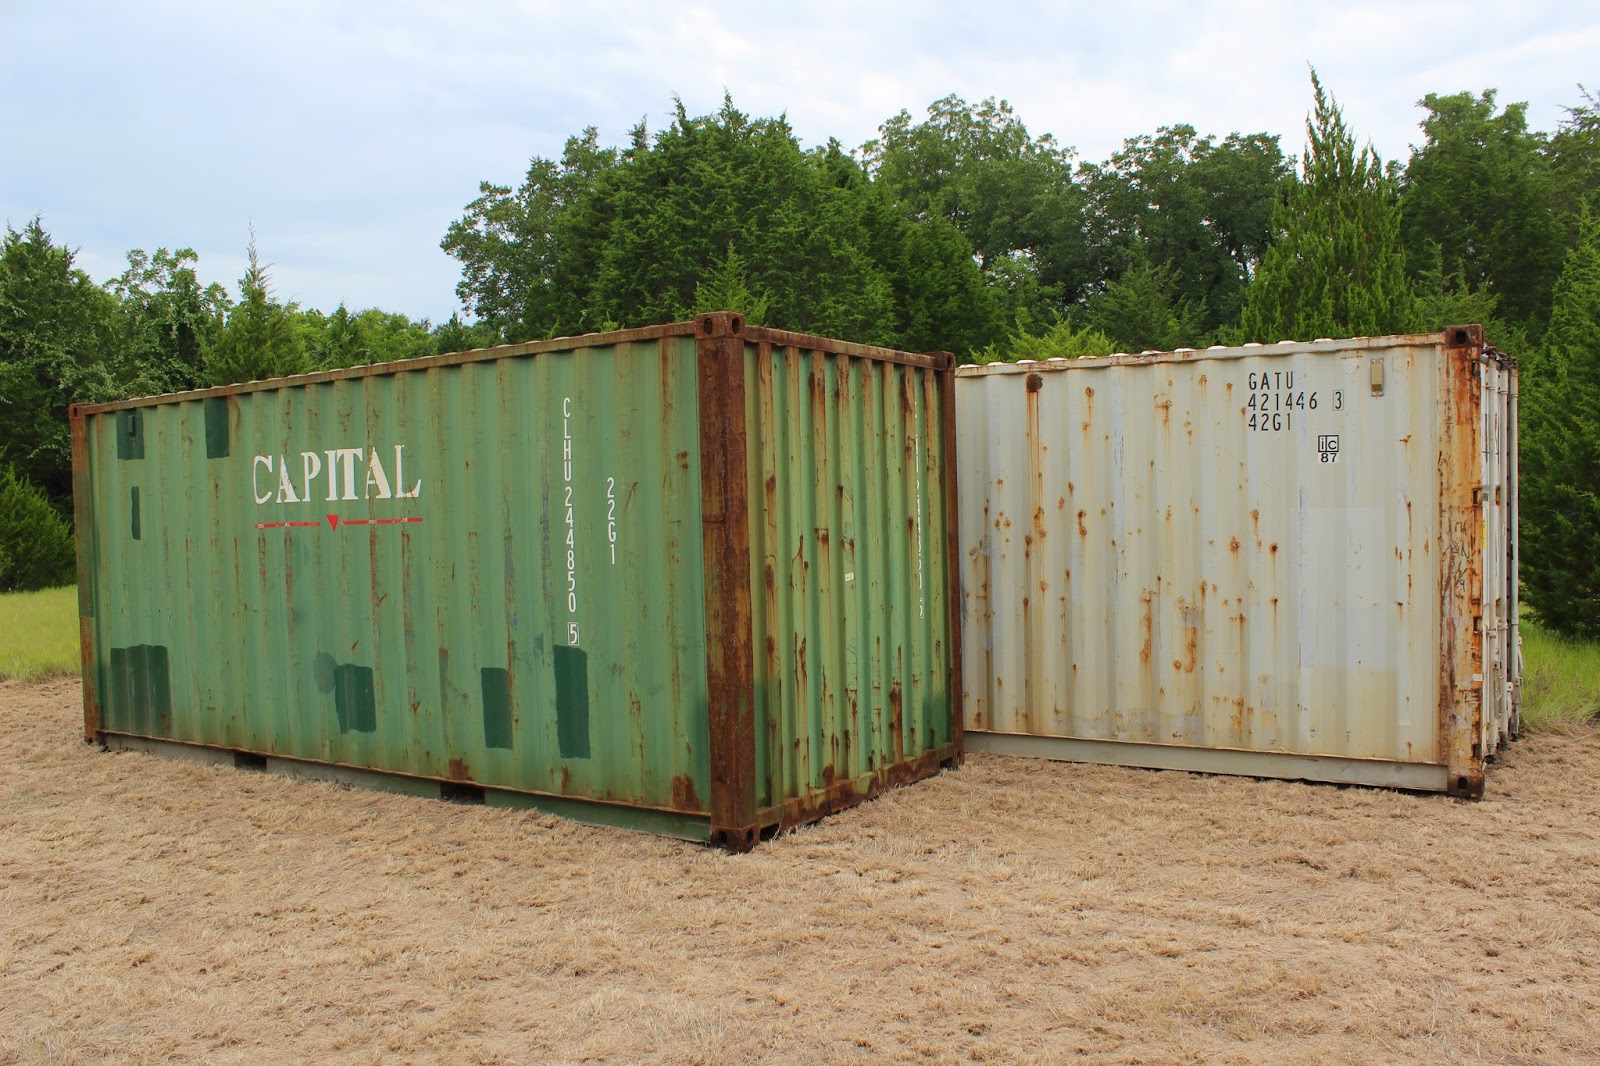 |
| Both boxes now in place |

-------------------------------------------------------
Temporarily placing containers on CMU blocks

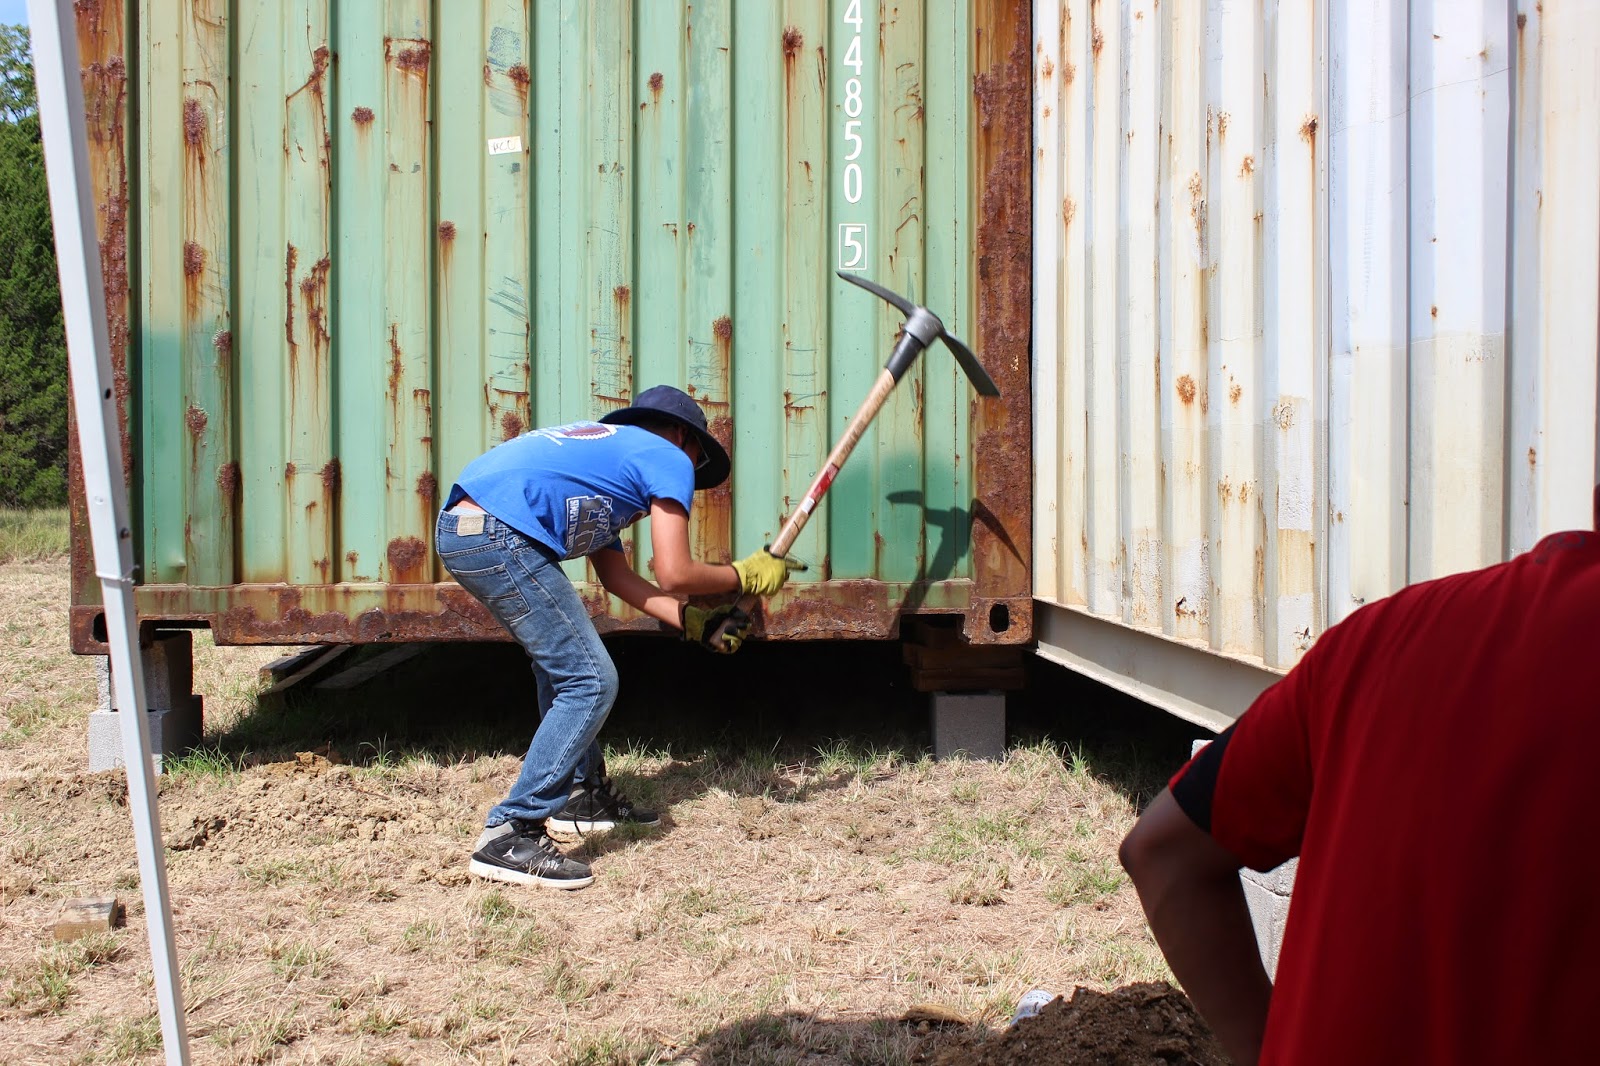
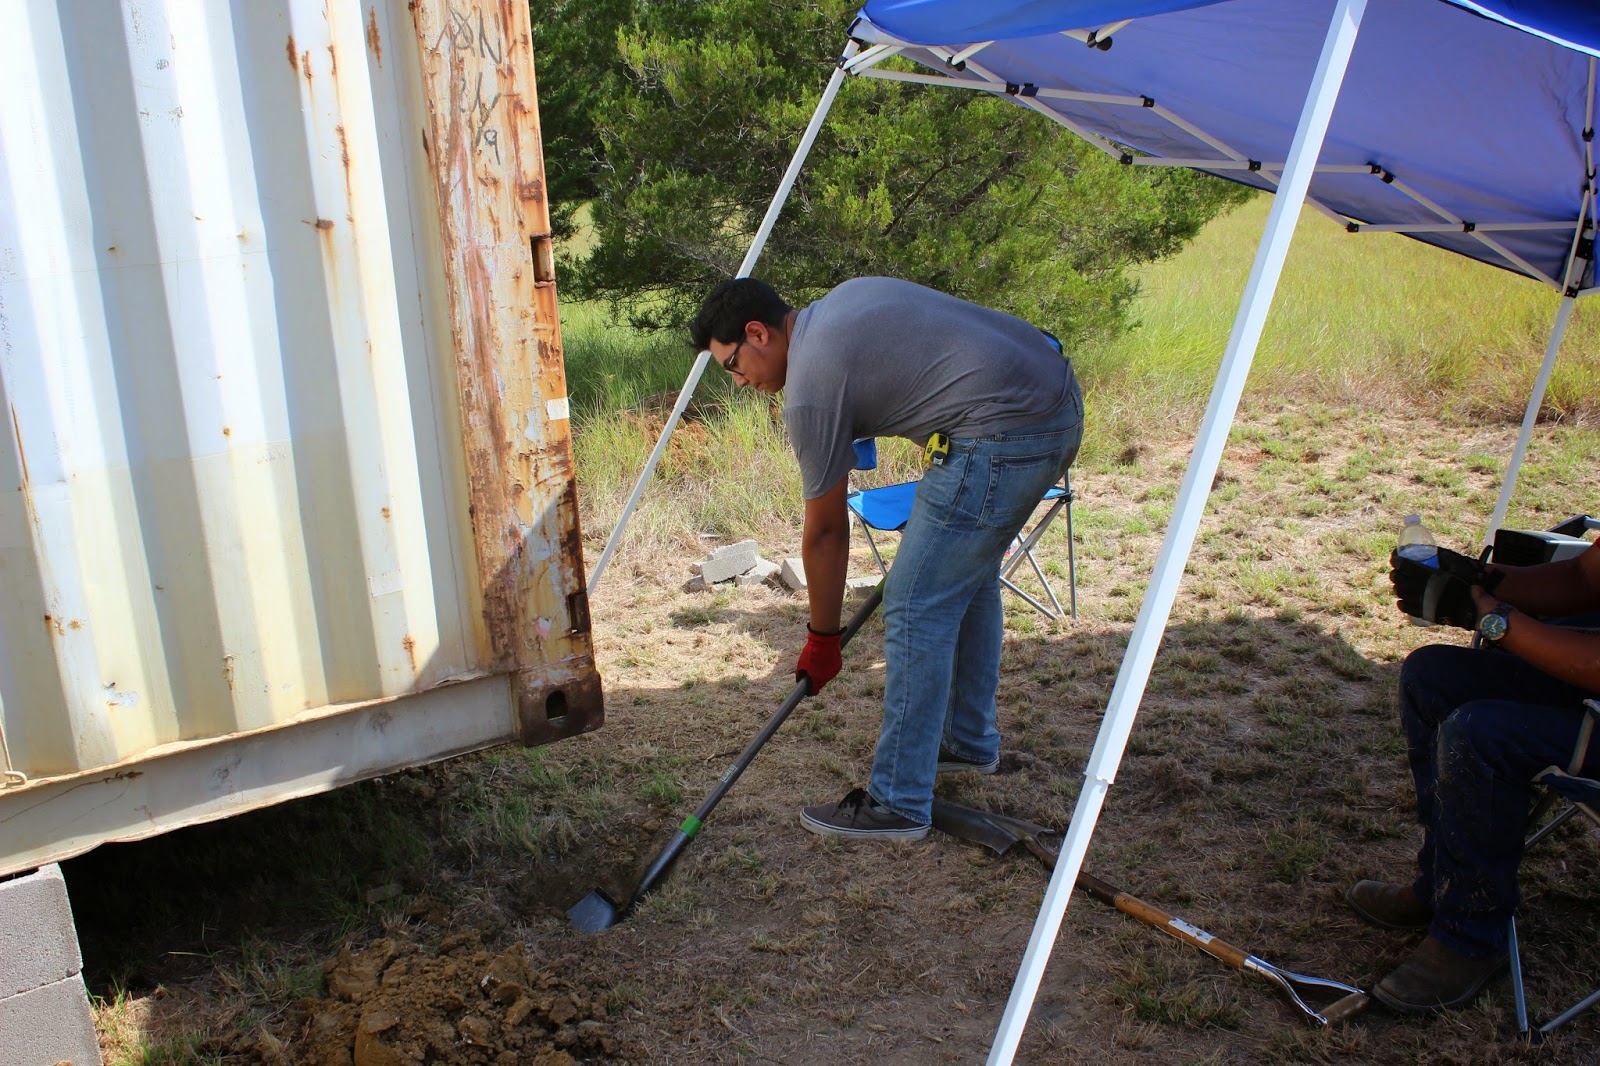
Next step is to lift the boxes off the ground and place them on some temporary CMU blocks.
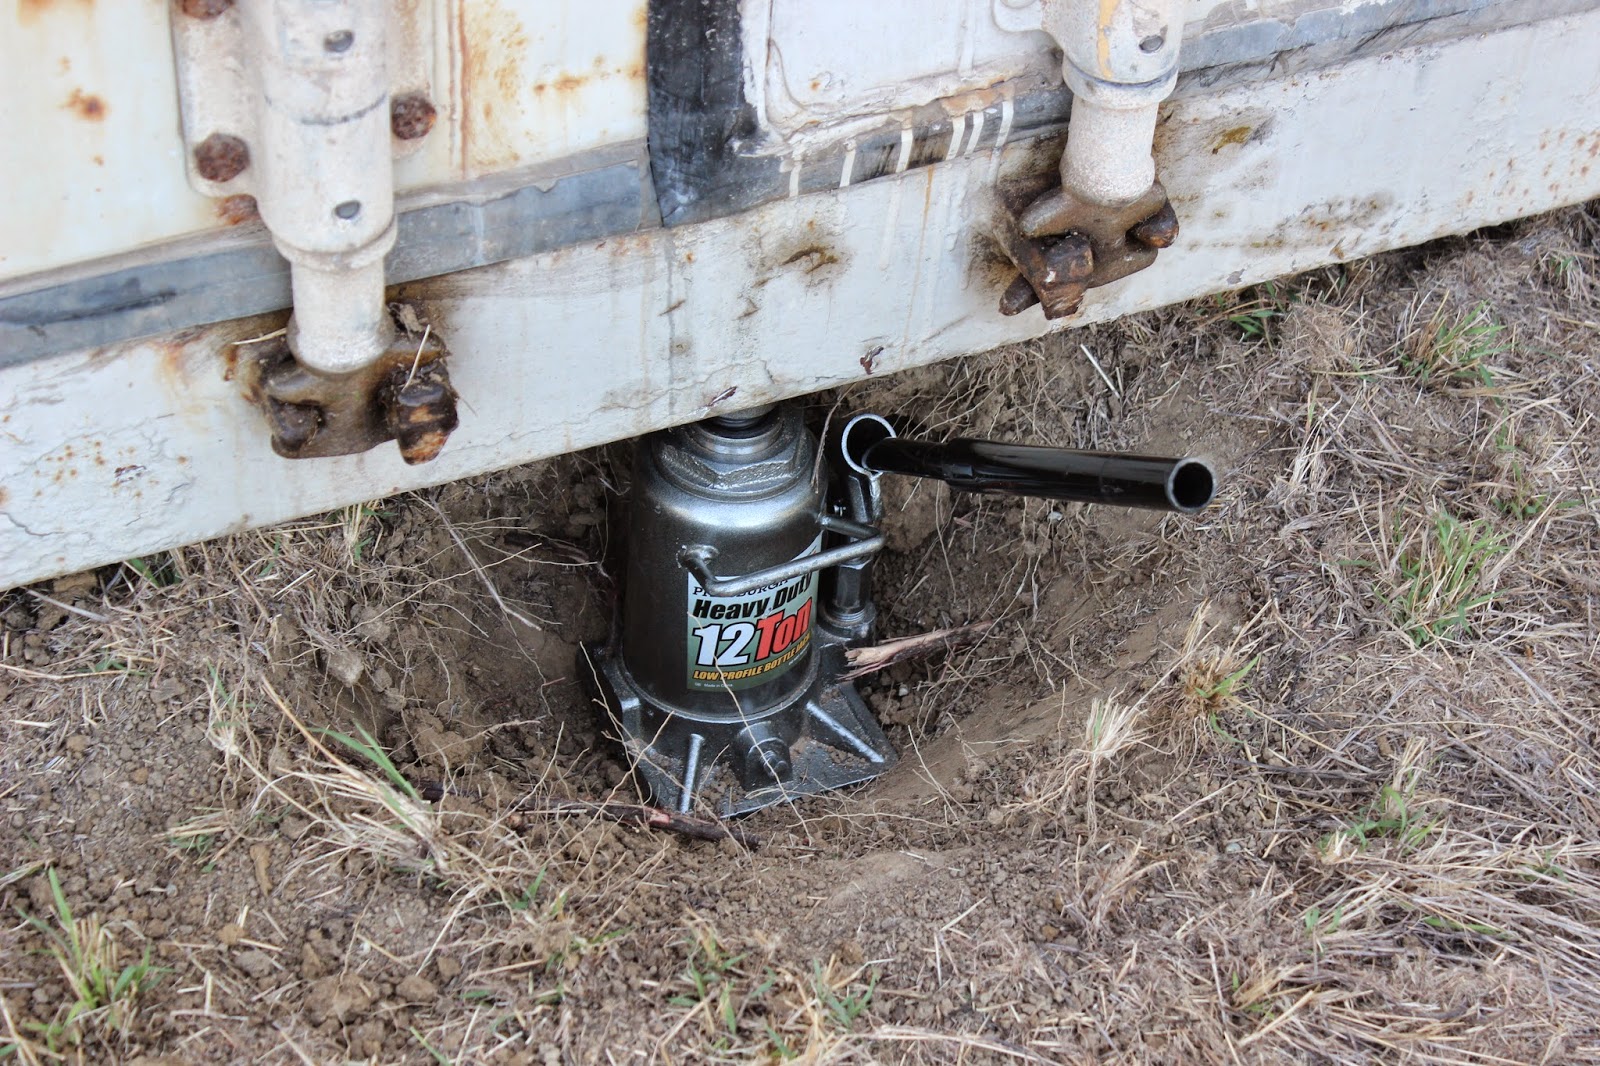
I dug a hole in the ground at the center of the container, deep enough for a small 12 ton manual hydraulic jack to fit in.
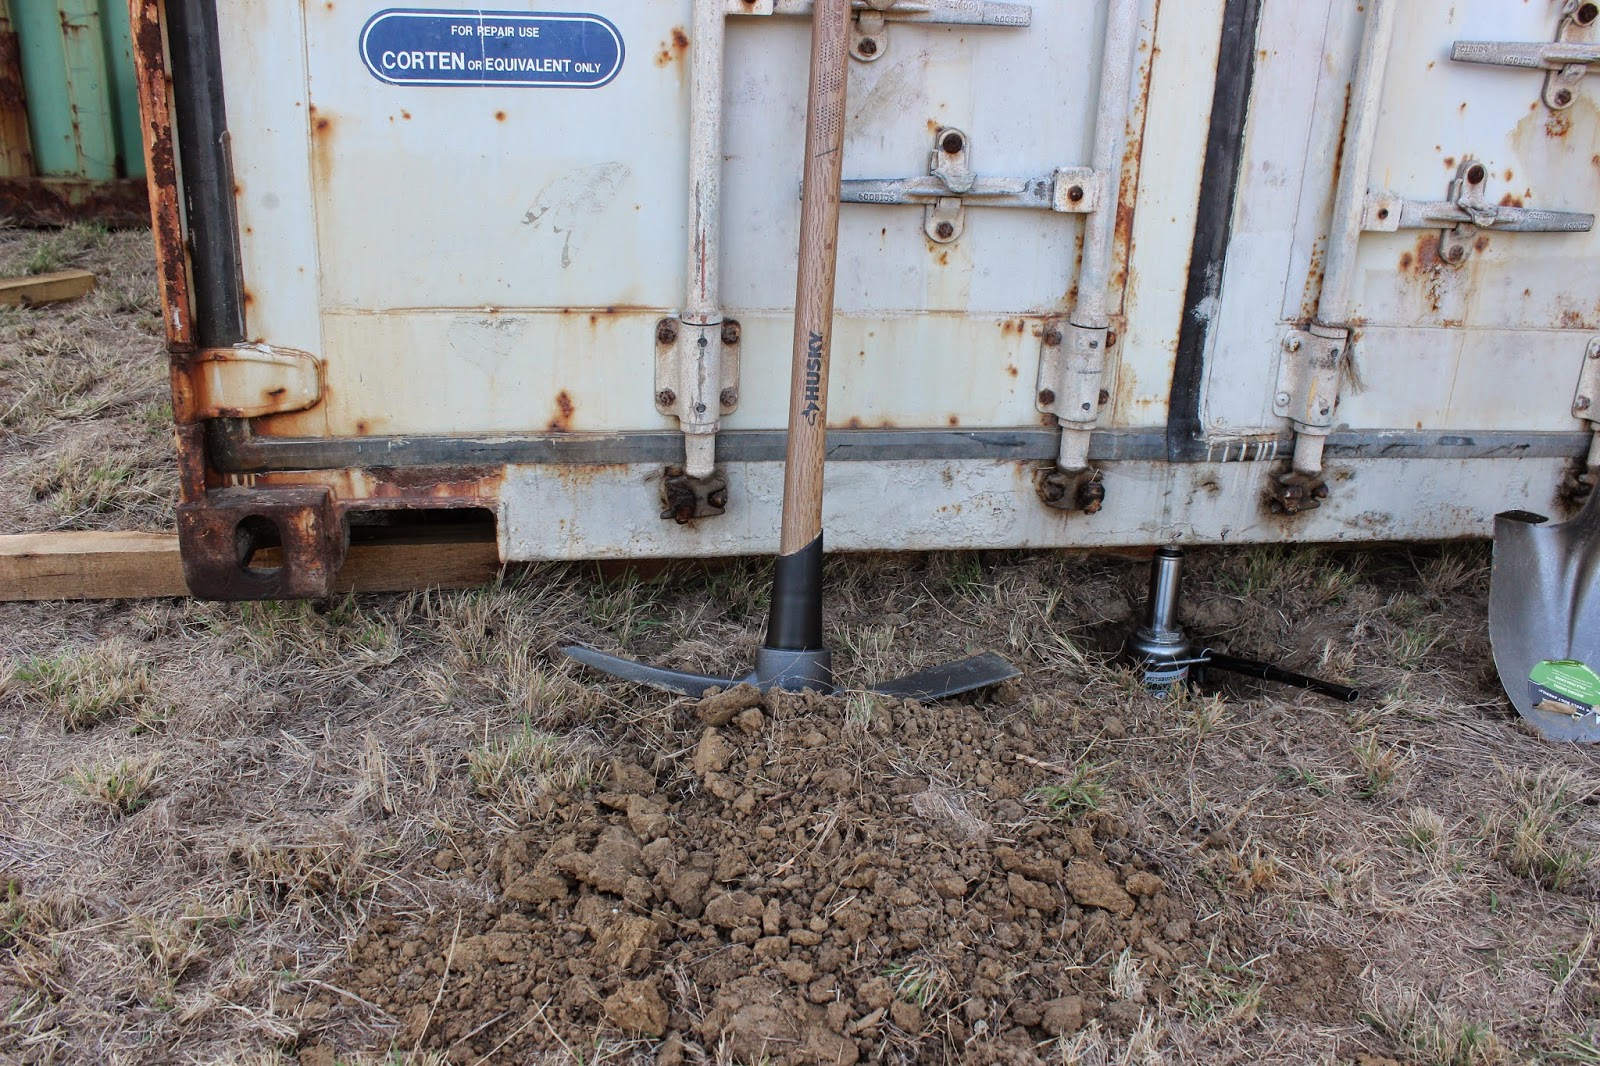
I then lifted the end of the container high enough to place wooden blocks underneath the box.

Next I lower the jack and place wood blocks under the jack to be able to lift the box a bit high enough to place a CMU block underneath.

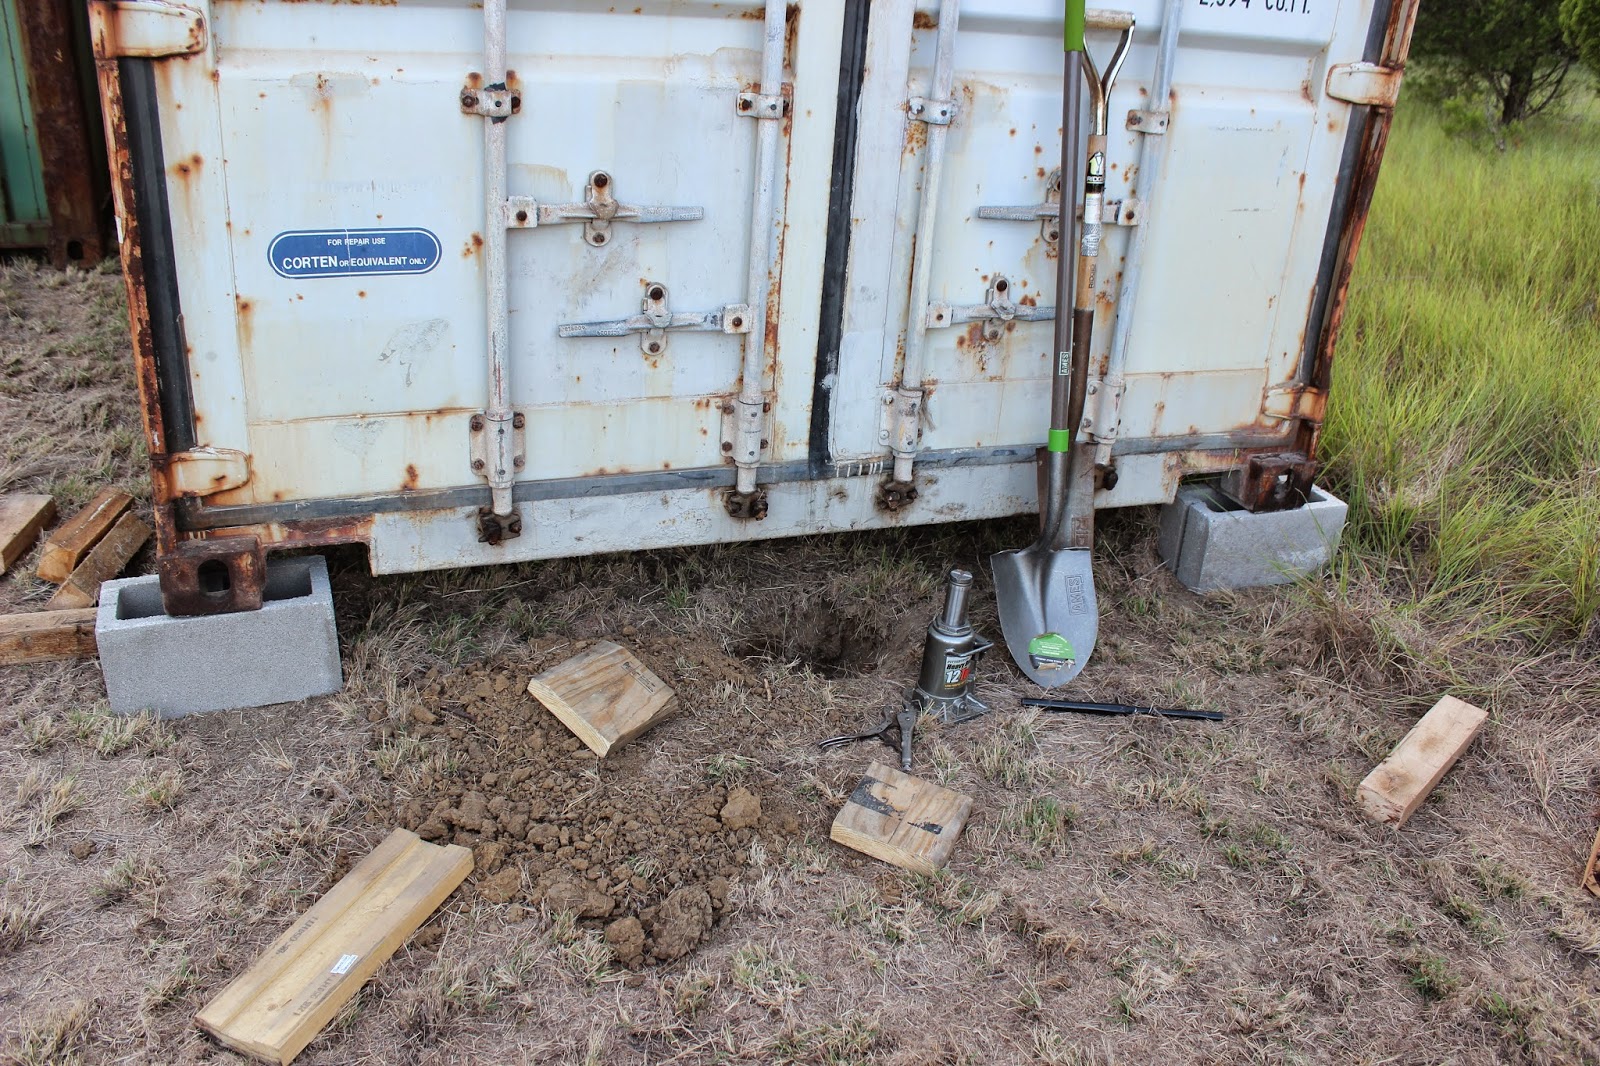
 I repeat the process on both ends of each box, until the containers are high enough to place 2 CMU blocks under them.
I moved the double-stacked CMU block back away from the corners because I will be digging holes for concrete piers at the corner of each box.
-------------------------------------------------------
Pouring concrete piers


-------------------------------------------------------

-------------------------------------------------------
Pouring concrete piers
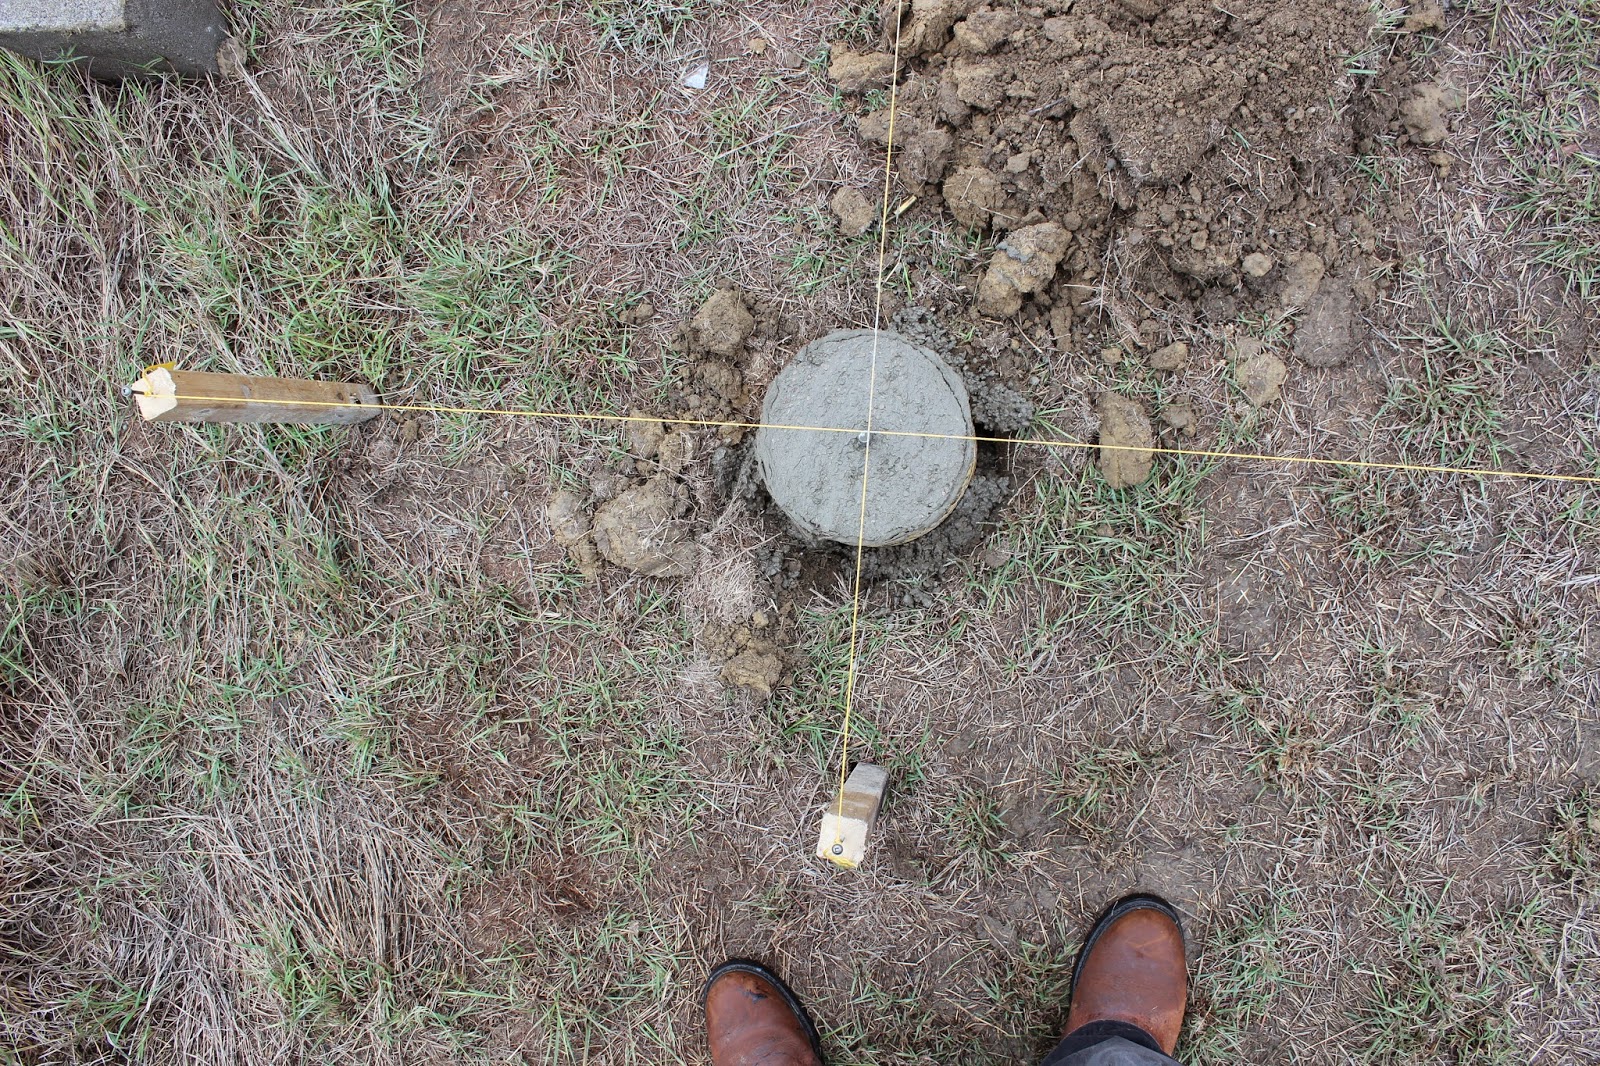
Next I dug holes at each corner for concrete piers.


Each hole is 2 ft deep and about 1 ft diameter.
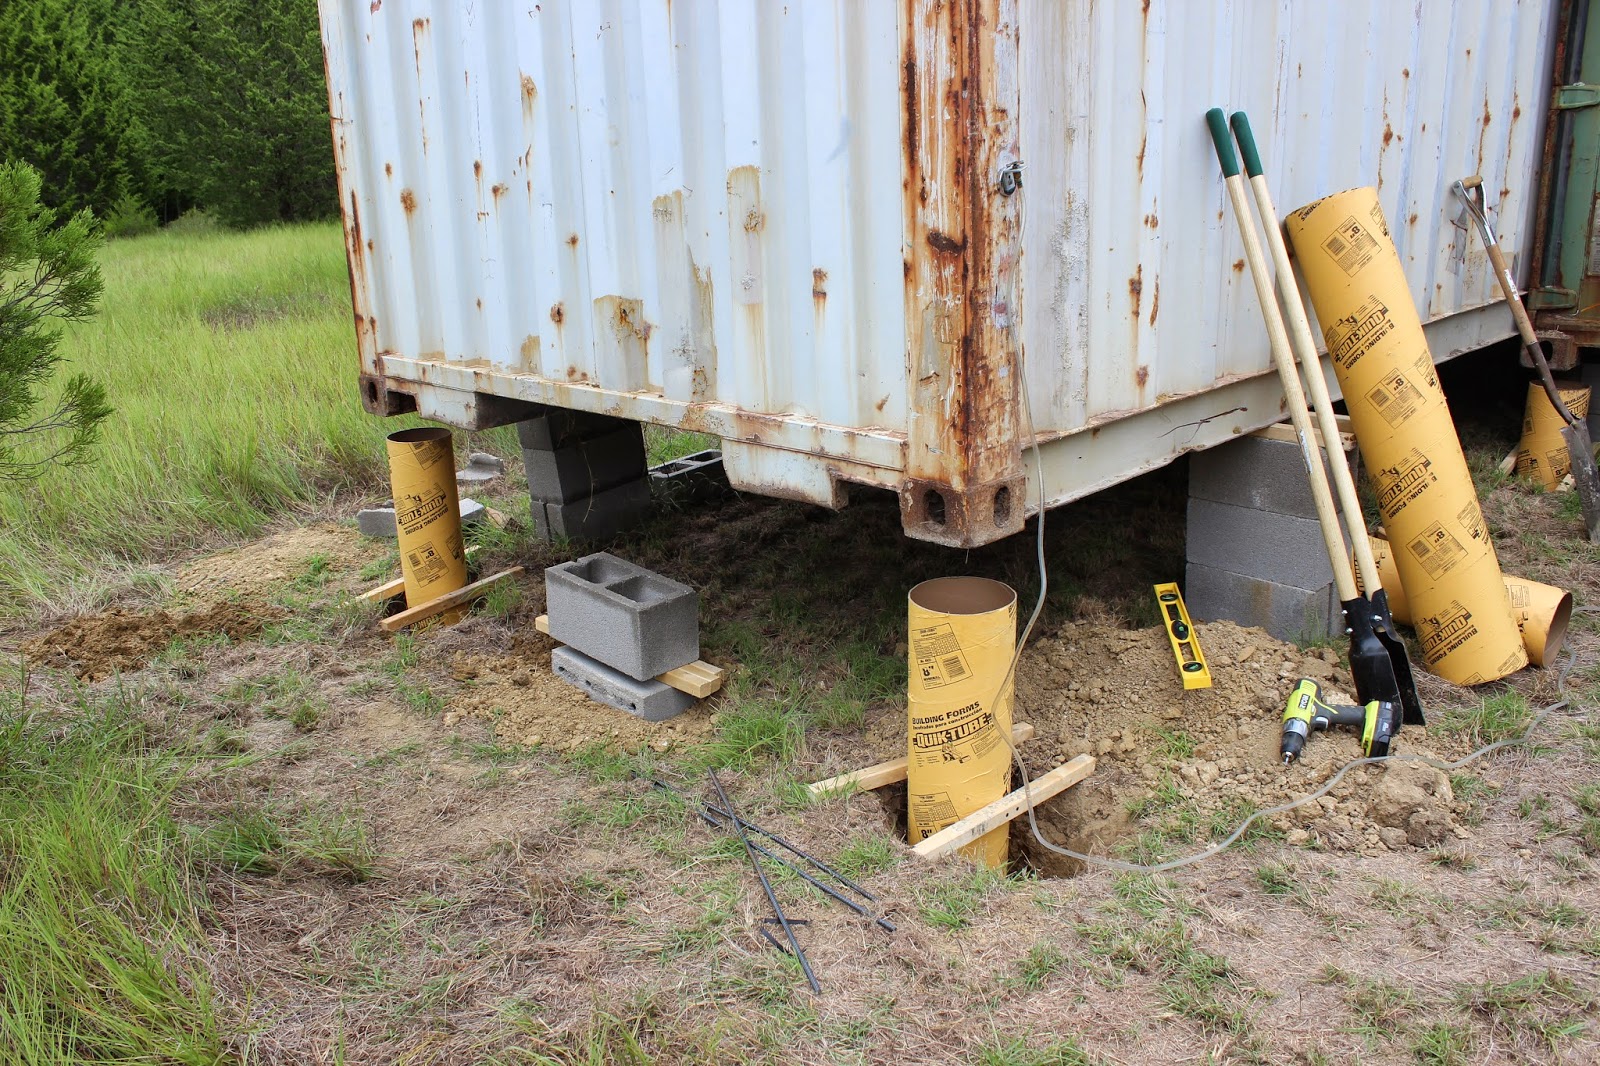
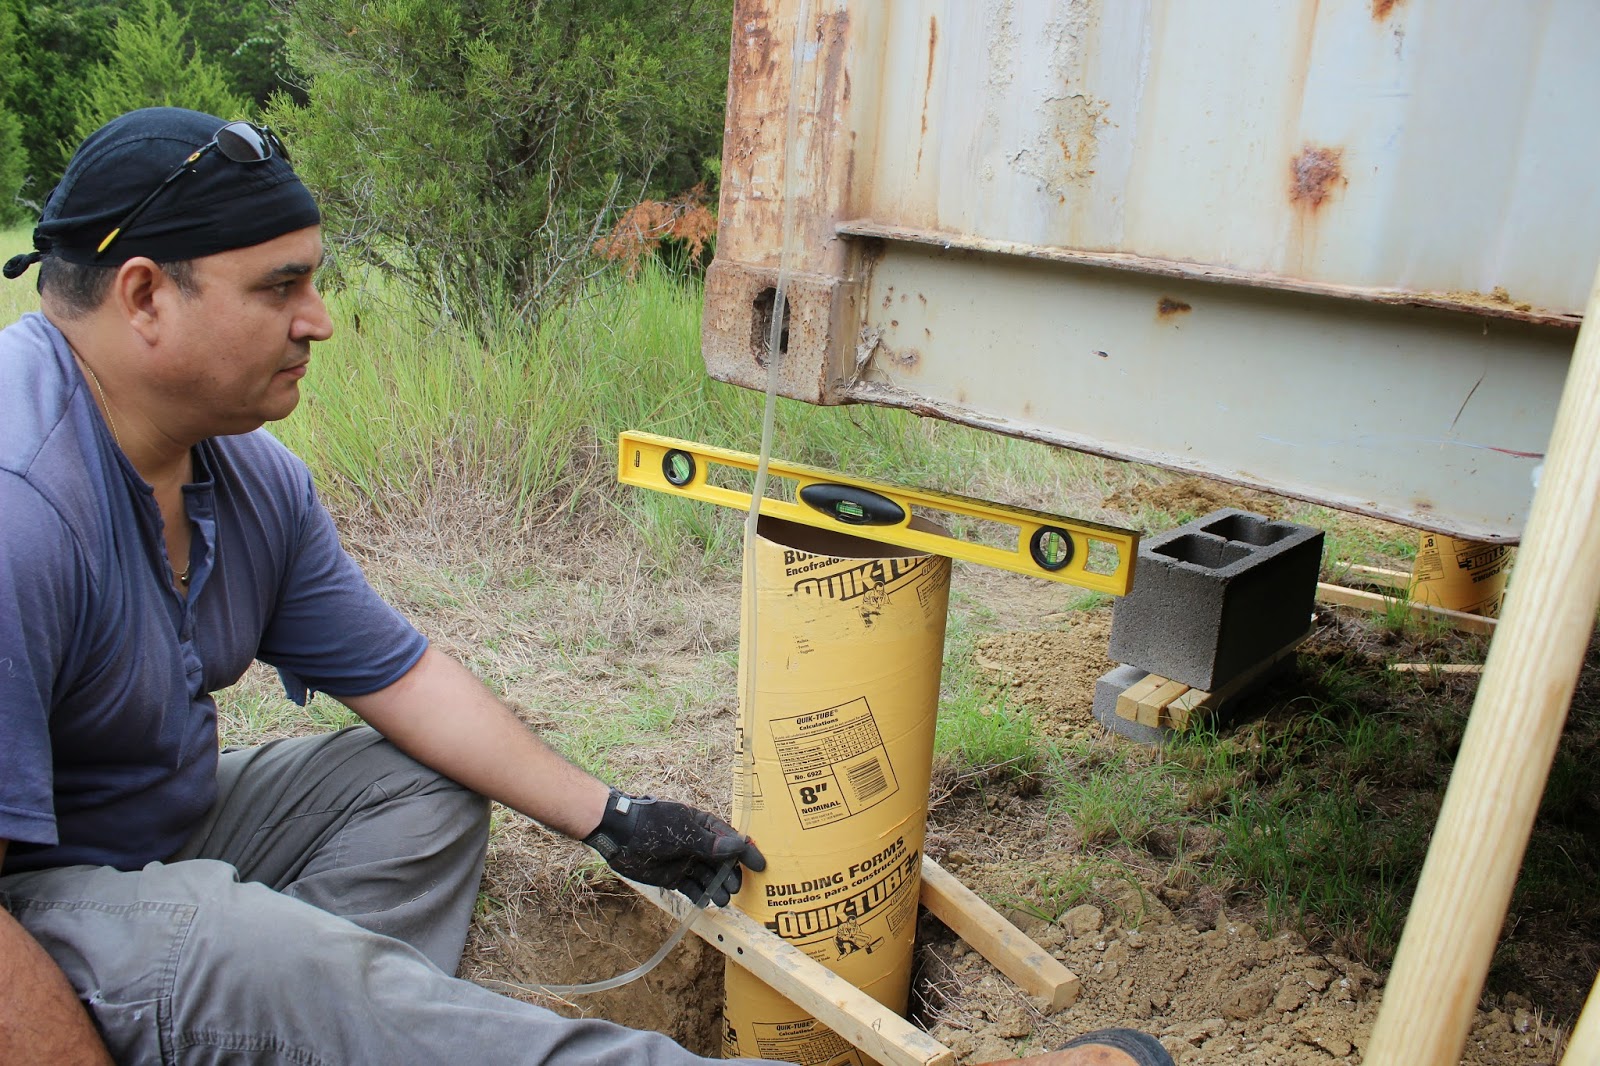
8" Sonotubes
are inserted
in holes and
leveled

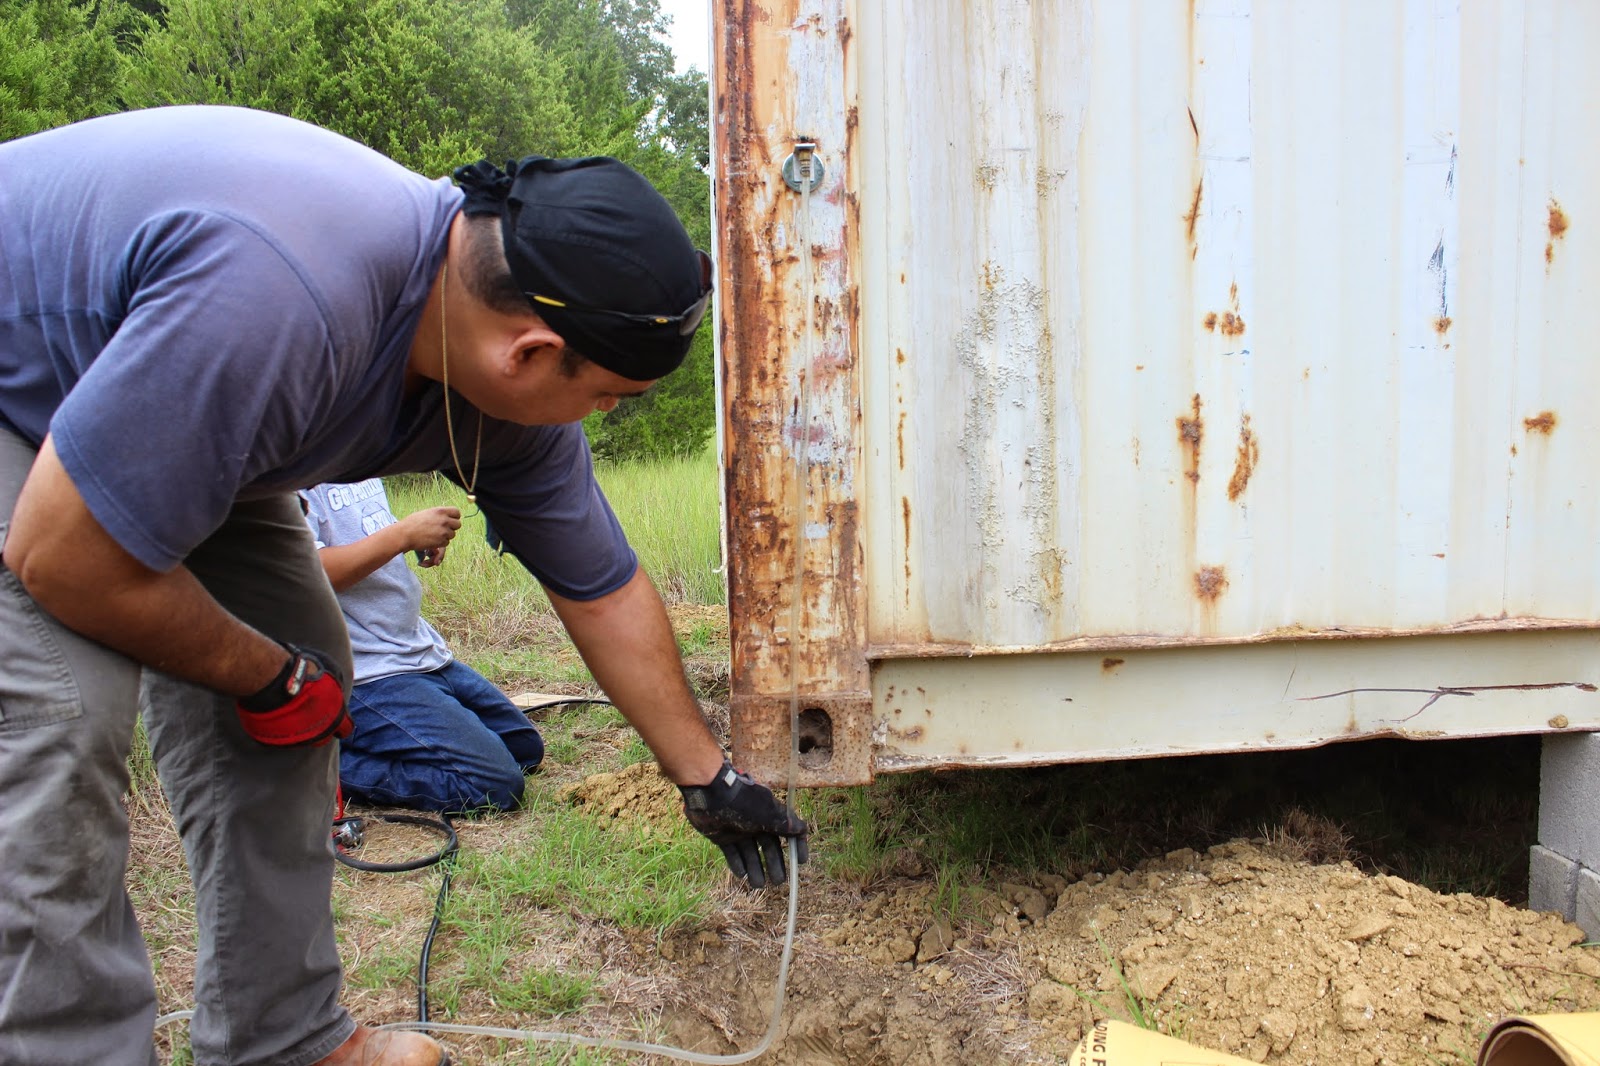
I used a Bunyip
water levey to
place all tubes
at same height

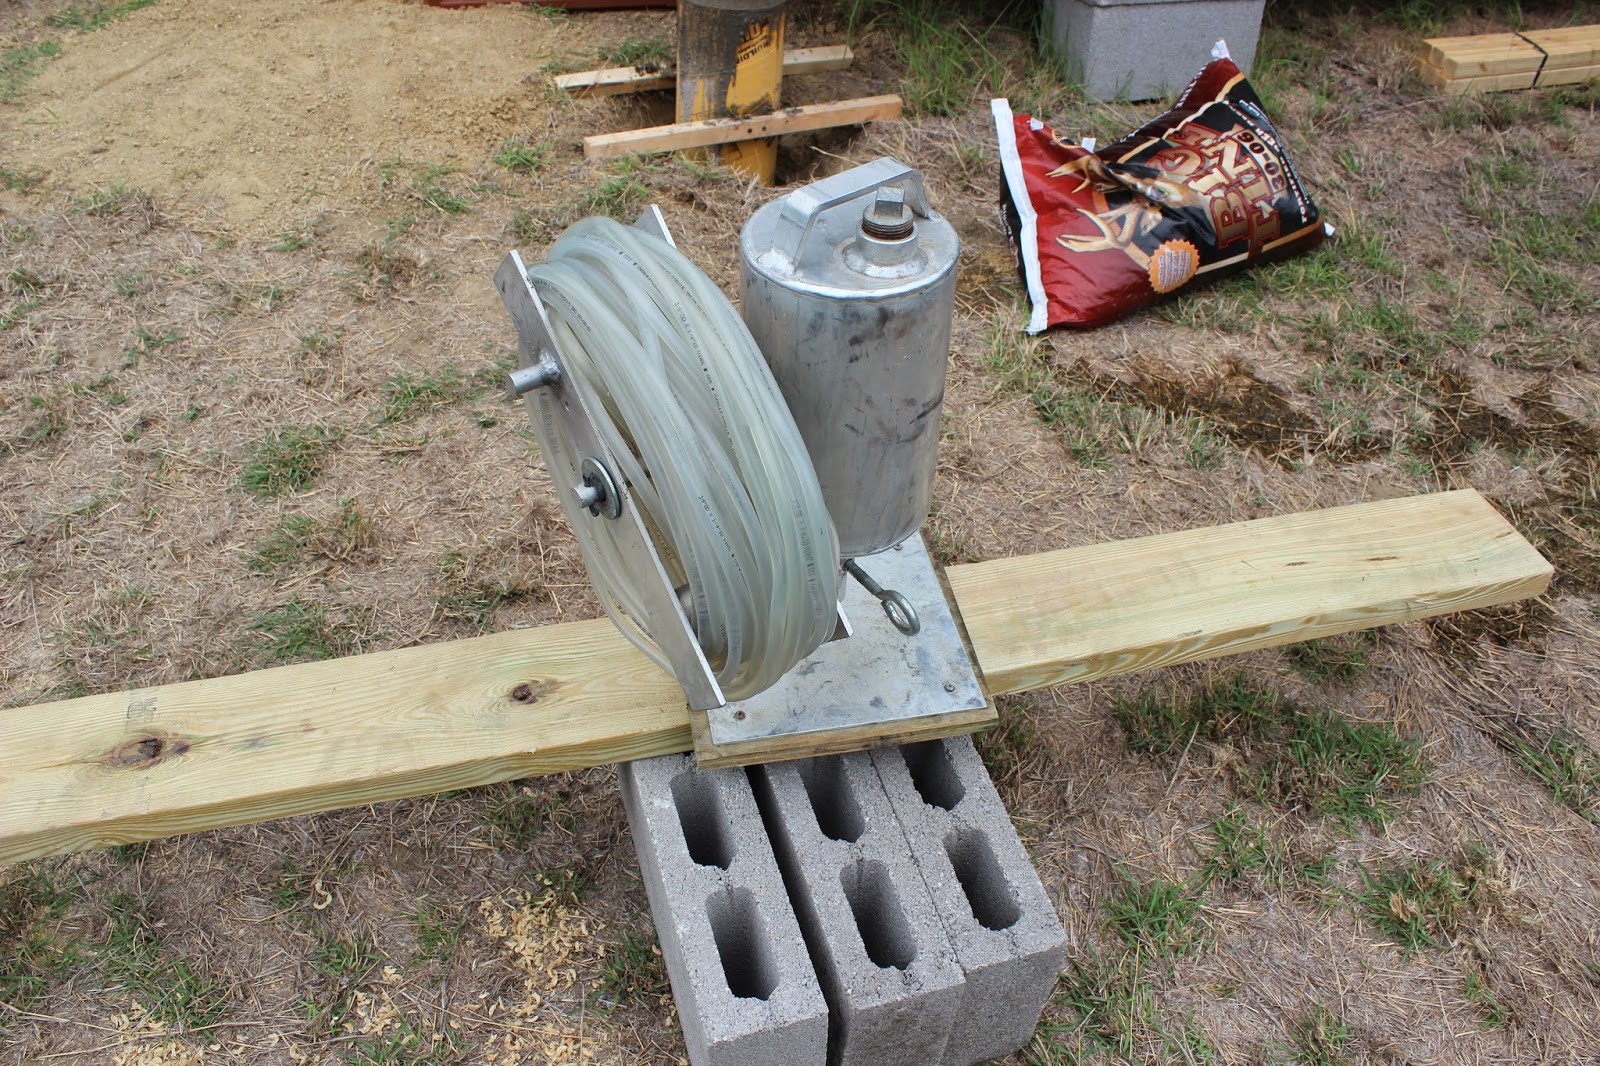
The Bunyip
level has a
water tank
& a 50ft clear
tube to see the
water level
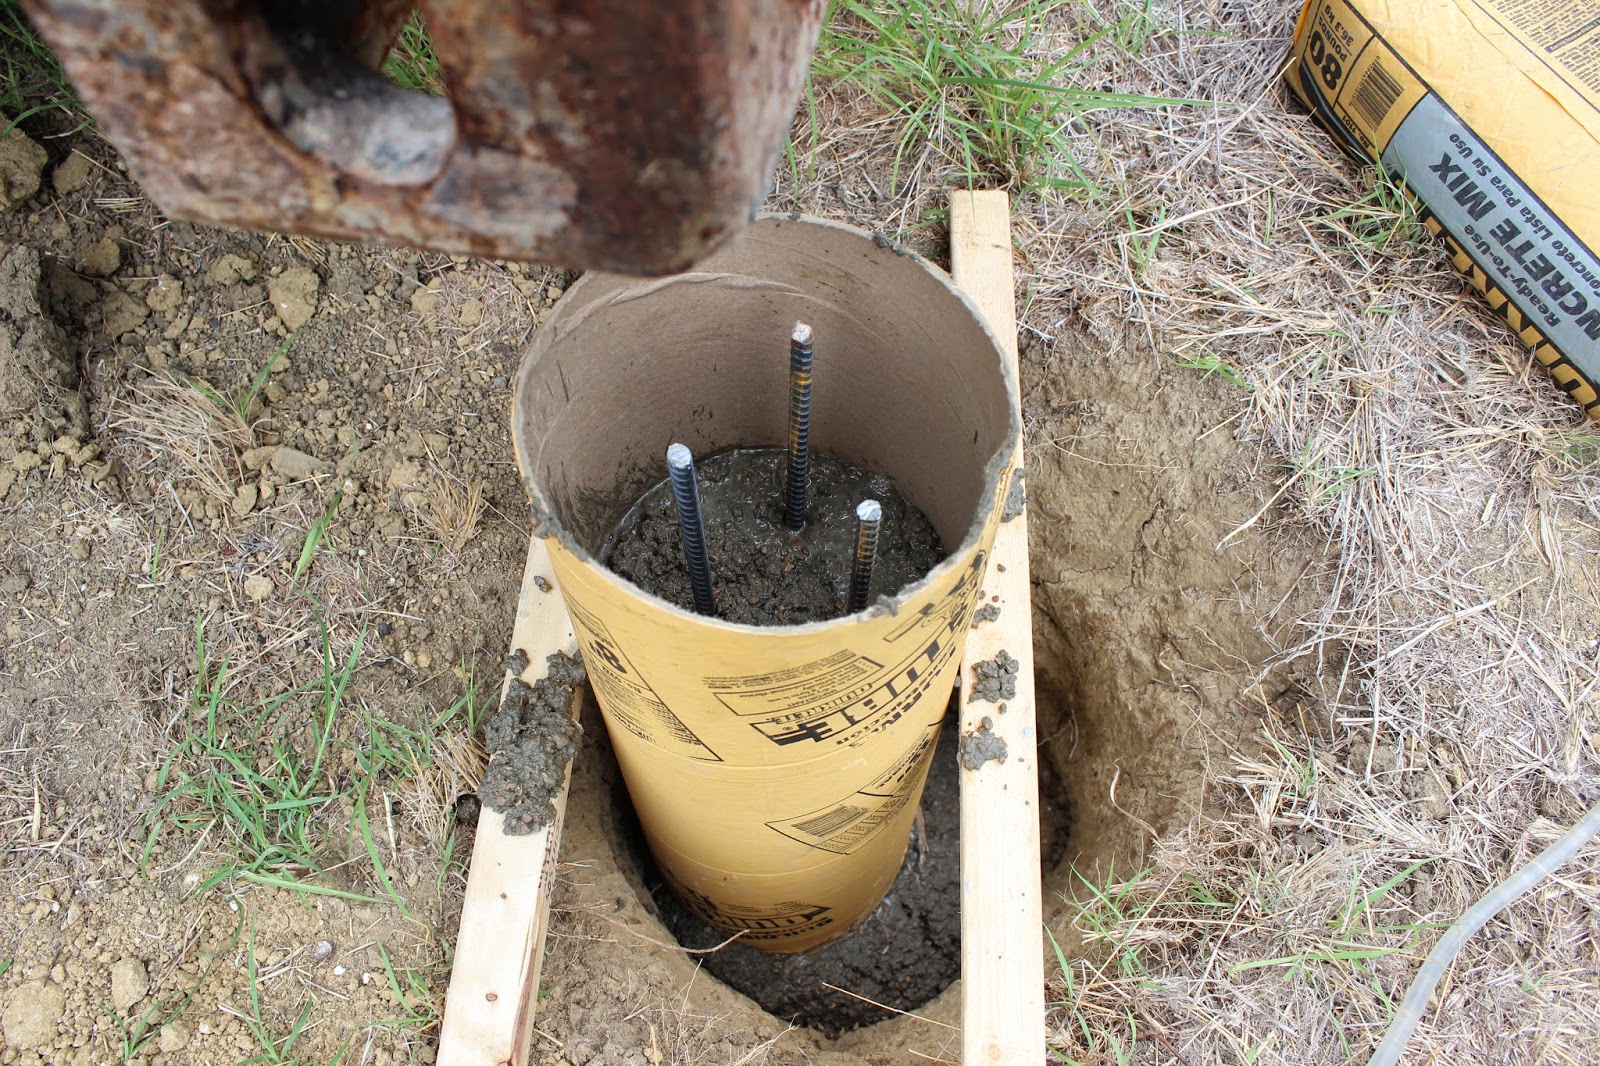

Then cement is
shoveled into
the sonotube
and rebar is
added

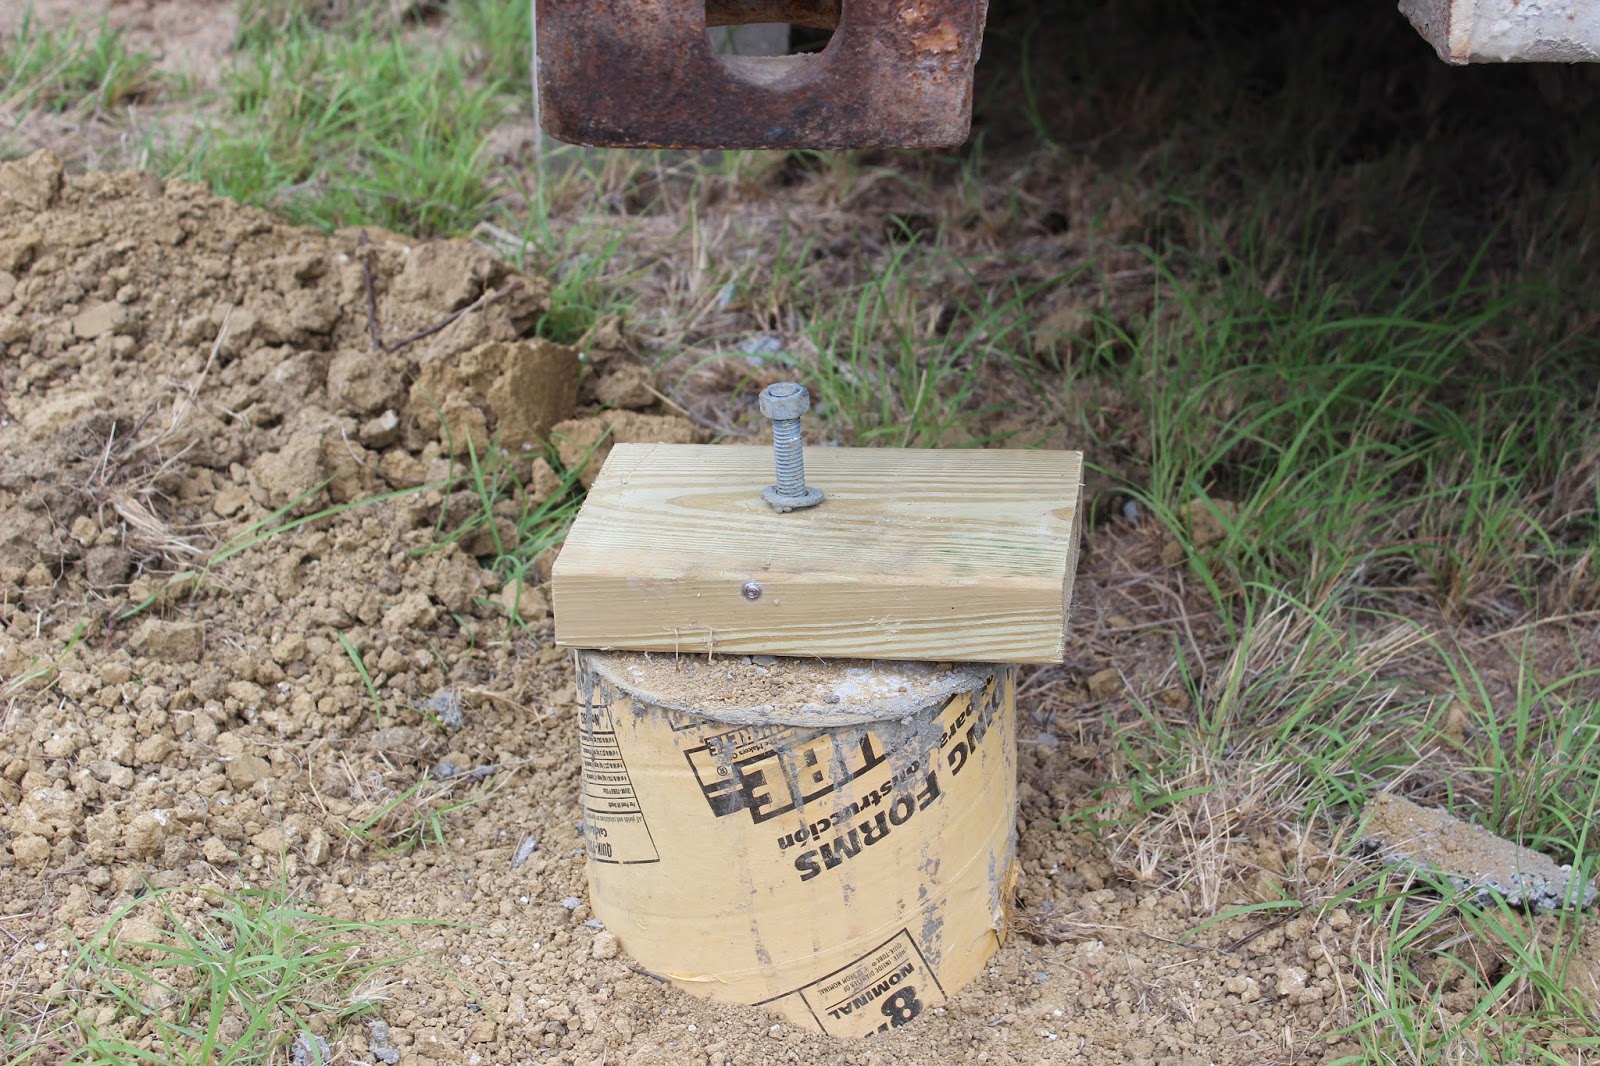
Anchor bolts
are placed in
wet cement.
Wood blocks
are added when
cement dries.


Container is


8" Sonotubes
are inserted
in holes and
leveled
I used a Bunyip
water levey to
place all tubes
at same height
The Bunyip
level has a
water tank
& a 50ft clear
tube to see the
water level
Then cement is
shoveled into
the sonotube
and rebar is
added
Anchor bolts
are placed in
wet cement.
Wood blocks
are added when
cement dries.

Container is
then lowered
onto piers.
-------------------------------------------------------
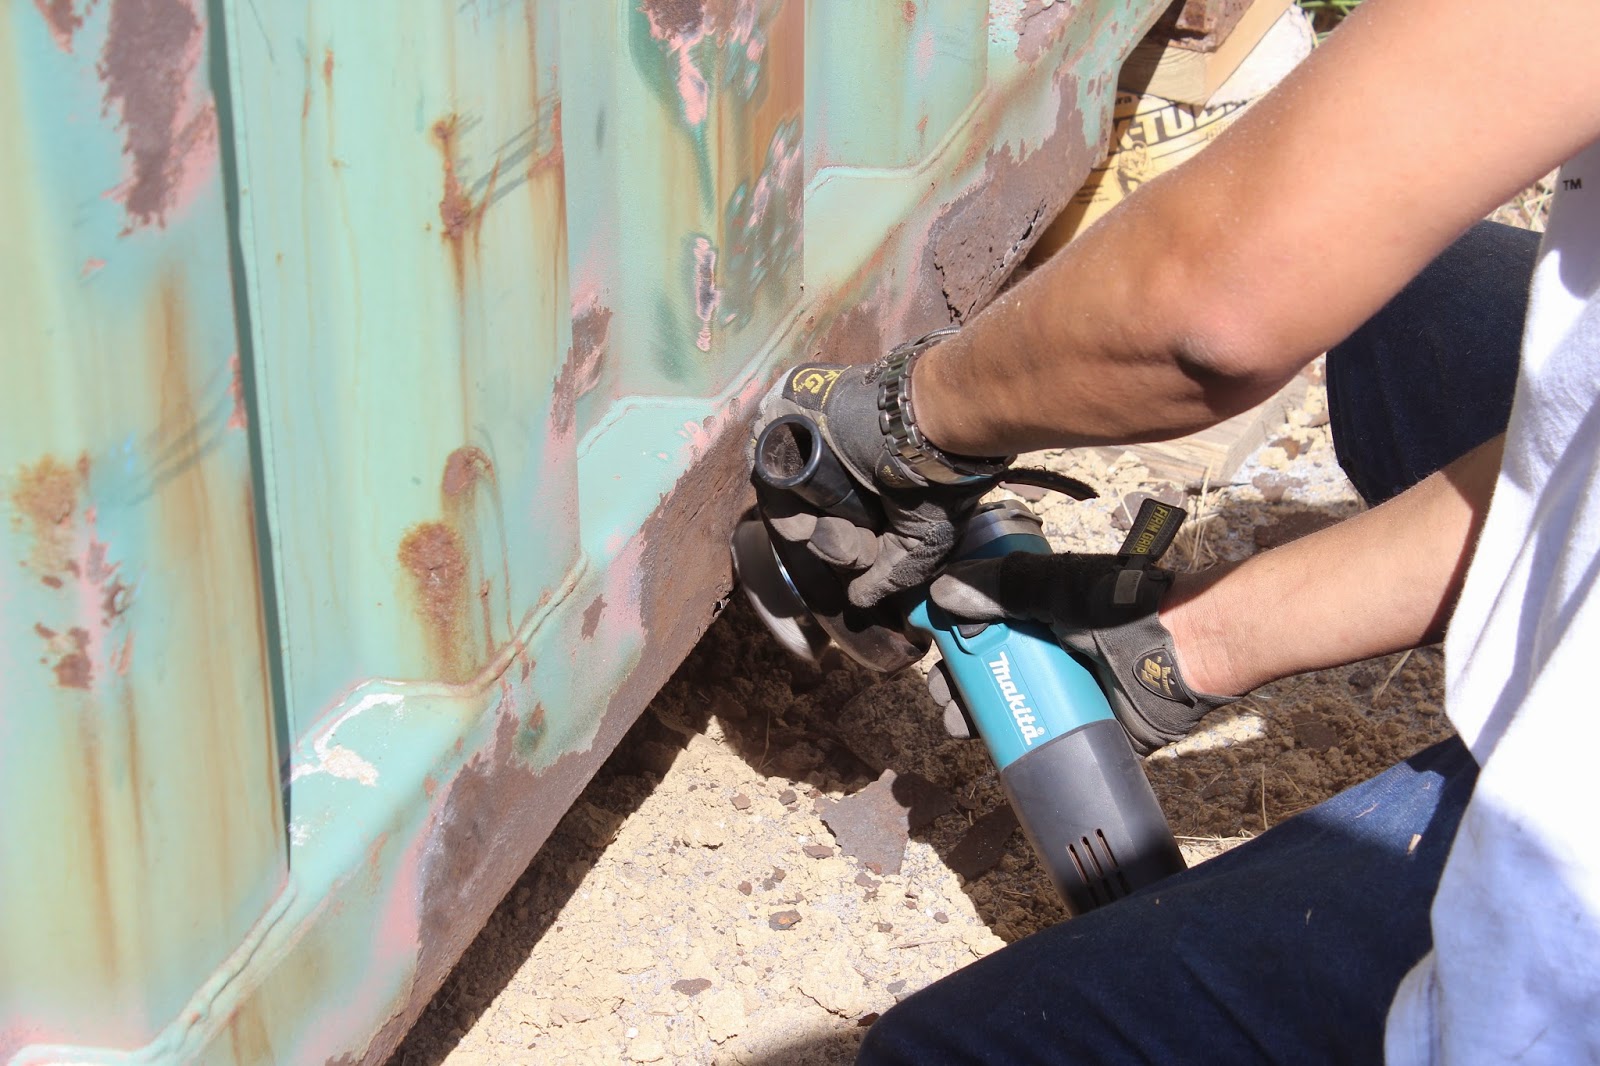
Sanding, priming, & painting
We used a grinder
to remove heavy
rust spots on the
exterior of the
containers

 A small sand blaster
was used to remove
the light rust spots
We then applied
grey primer using
spray paint cans
on all the bare

 metal spots
Now it is ready for
the exterior paint.
We used an airless
sprayer for this.

to remove heavy
rust spots on the
exterior of the
containers
A small sand blasterwas used to remove
the light rust spots
We then applied
grey primer using
spray paint cans
on all the bare
metal spotsNow it is ready for
the exterior paint.
We used an airless
sprayer for this.
 |
| Containers painted |

-------------------------------------------------------
Building the roof

We poured concrete

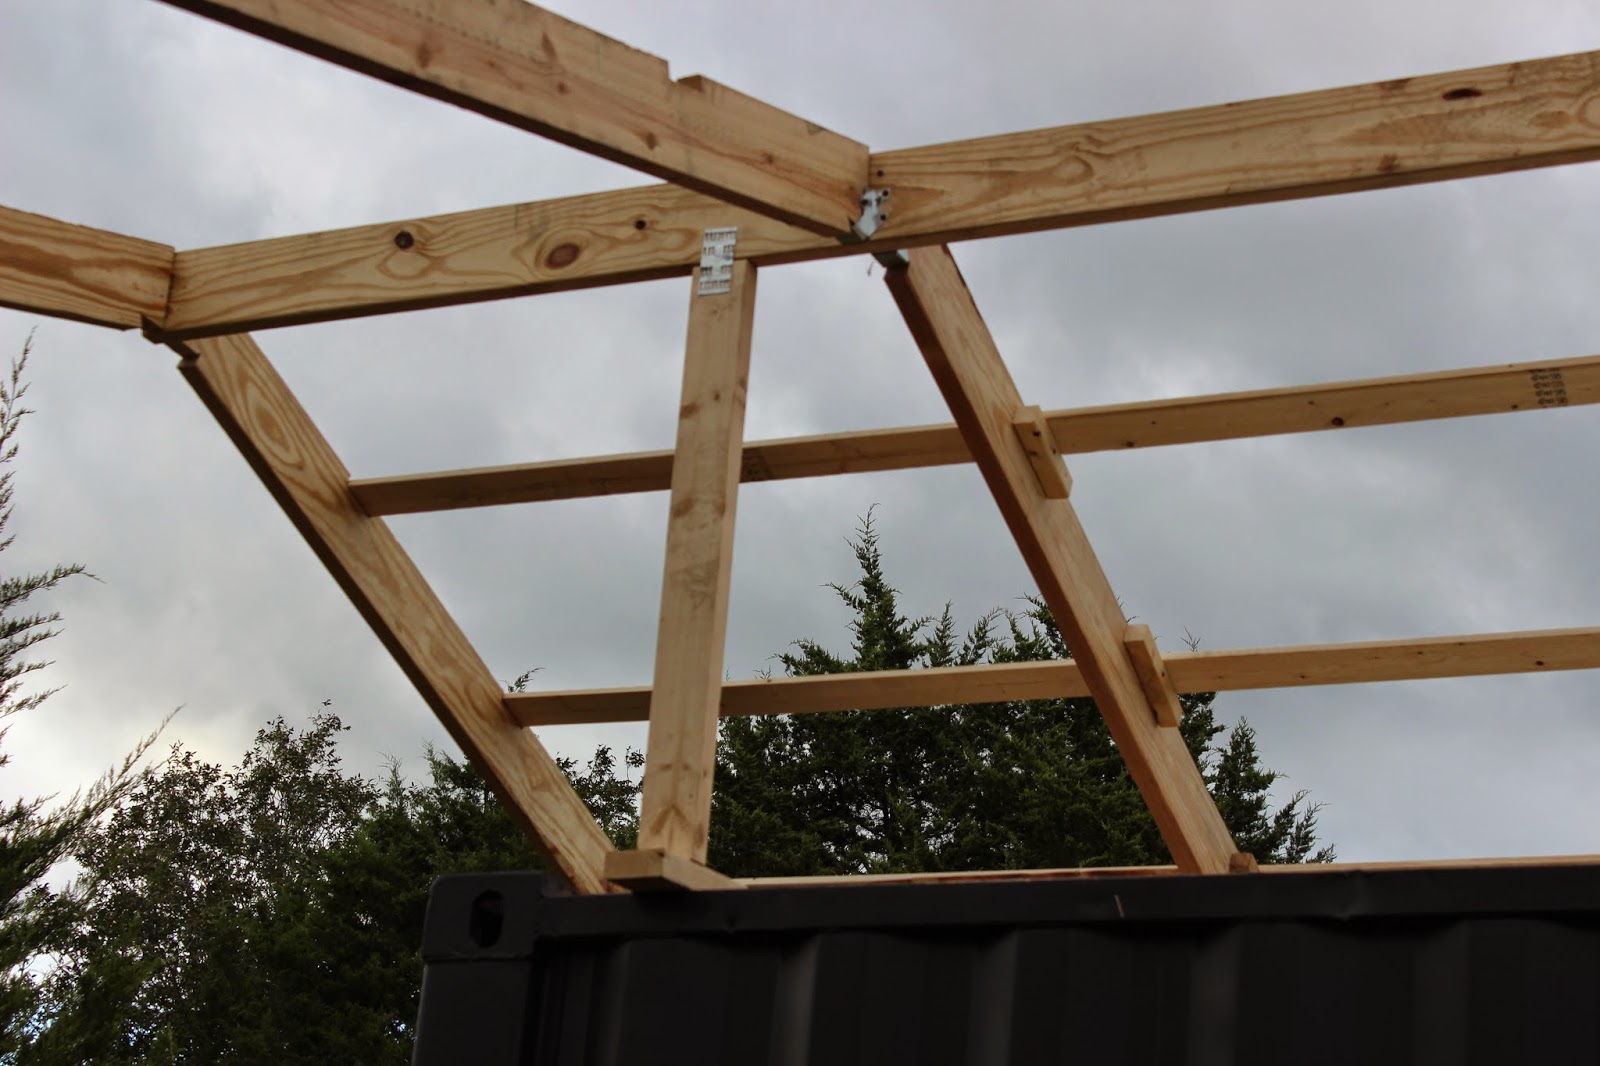
The roof is attached
to the container with
metal plates bolted
to the top rails of
the container roof
All roof wood members

 are connected using
Now the metal roof
panels can be installed
piers where the 4x4
posts will be placed
The roof is attached
to the container with
metal plates bolted
to the top rails of
the container roof
All roof wood members
 are connected using
joist hangers & plates
Now the metal roof
panels can be installed
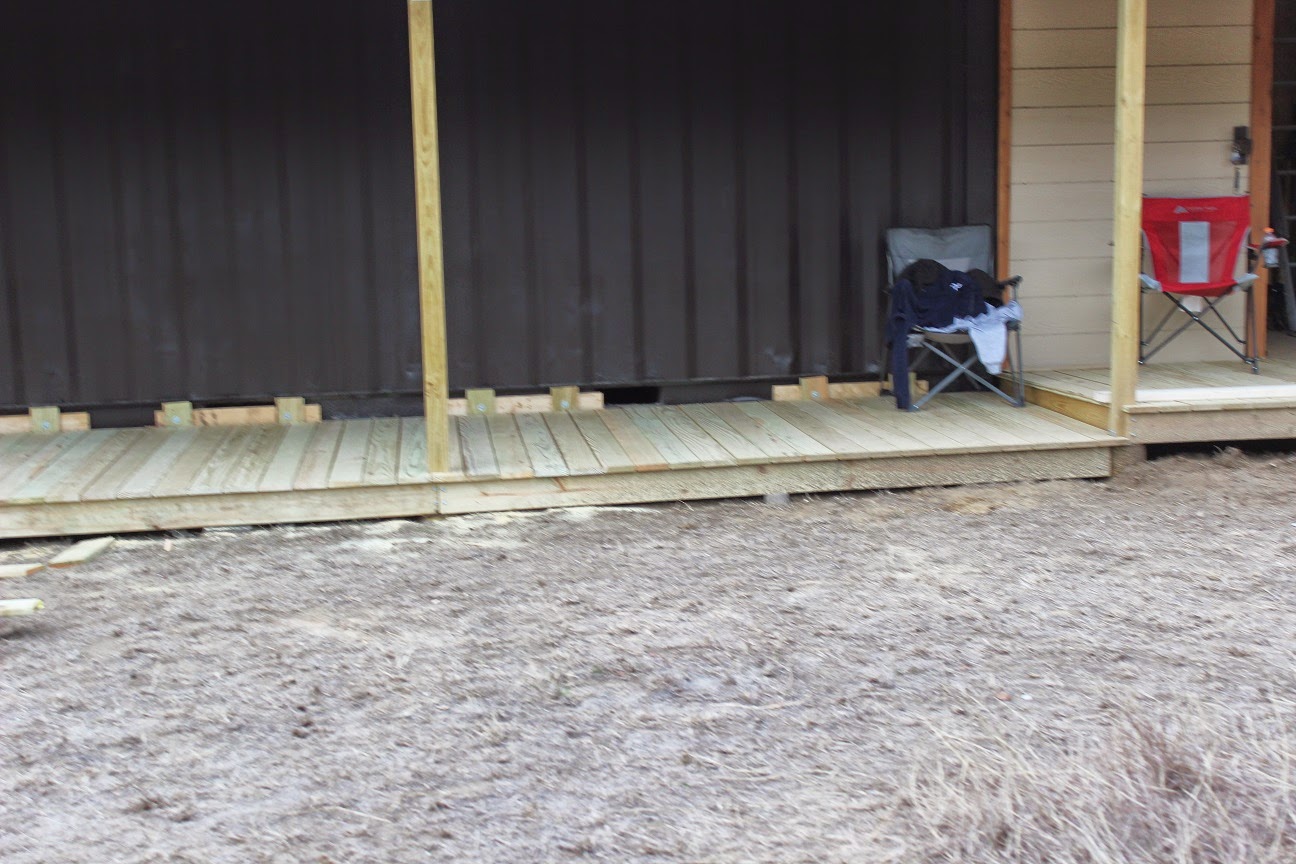
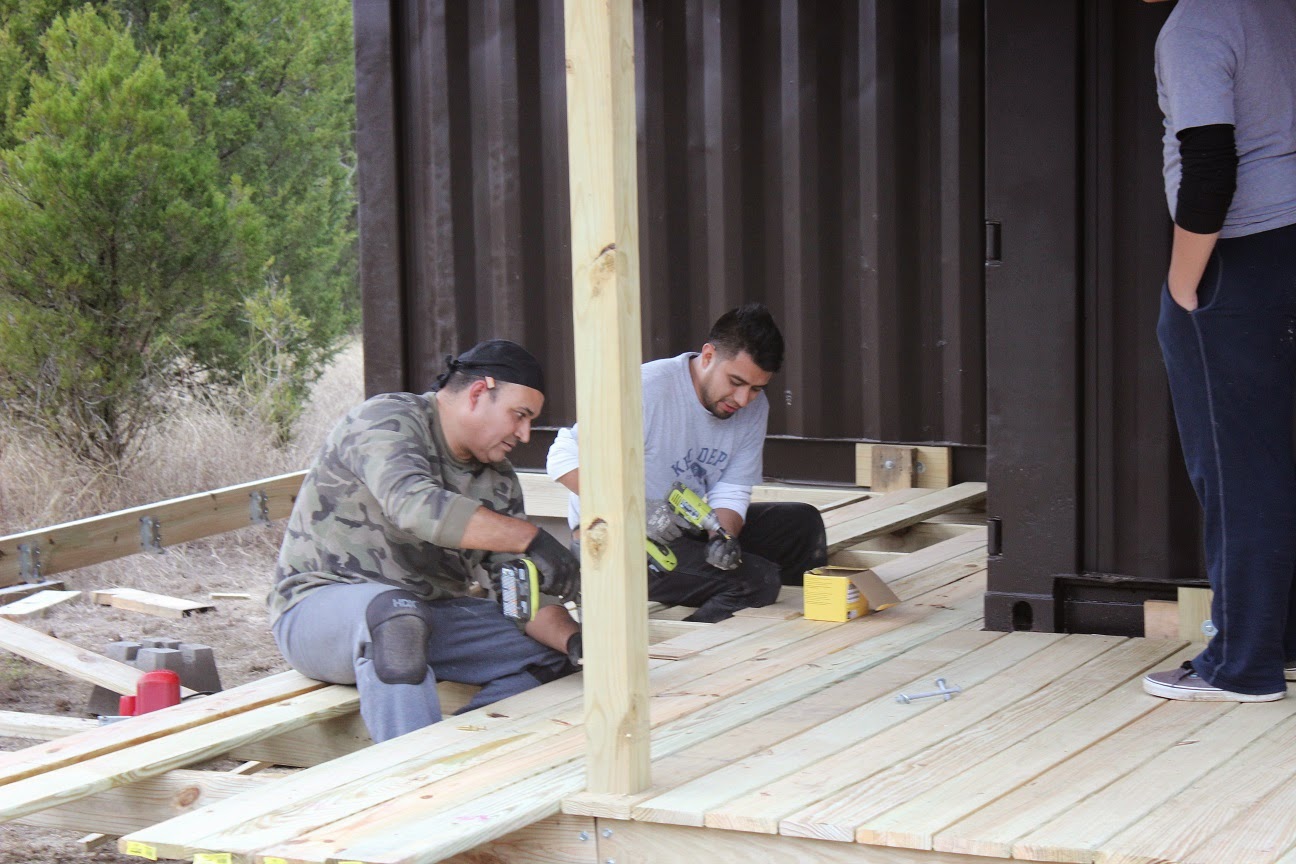
Now the decking is
framed out and
the deck boards
are installed

Next step is to build the
Observatory Tower
with the Roll-off-Roof
Click here to go to next page - Link
molodec
ReplyDeleteI am looking for about your product place lace me a message. When I post this, I am looking for more information on this all get no this
ReplyDelete